Edit Product in BoxNCase Admin
The Edit Product interface in BoxNCase Admin provides comprehensive management capabilities for all aspects of your product catalog. This powerful system allows you to modify product details, manage media, configure variants, and control product lifecycle from a centralized location.Accessing Product Details
To access a product’s comprehensive details page:- Navigate to the Products section from the sidebar menu
- Locate your product using search, filters, or browsing
- Click on the product name or row to open the detailed product management interface
Product Information Management
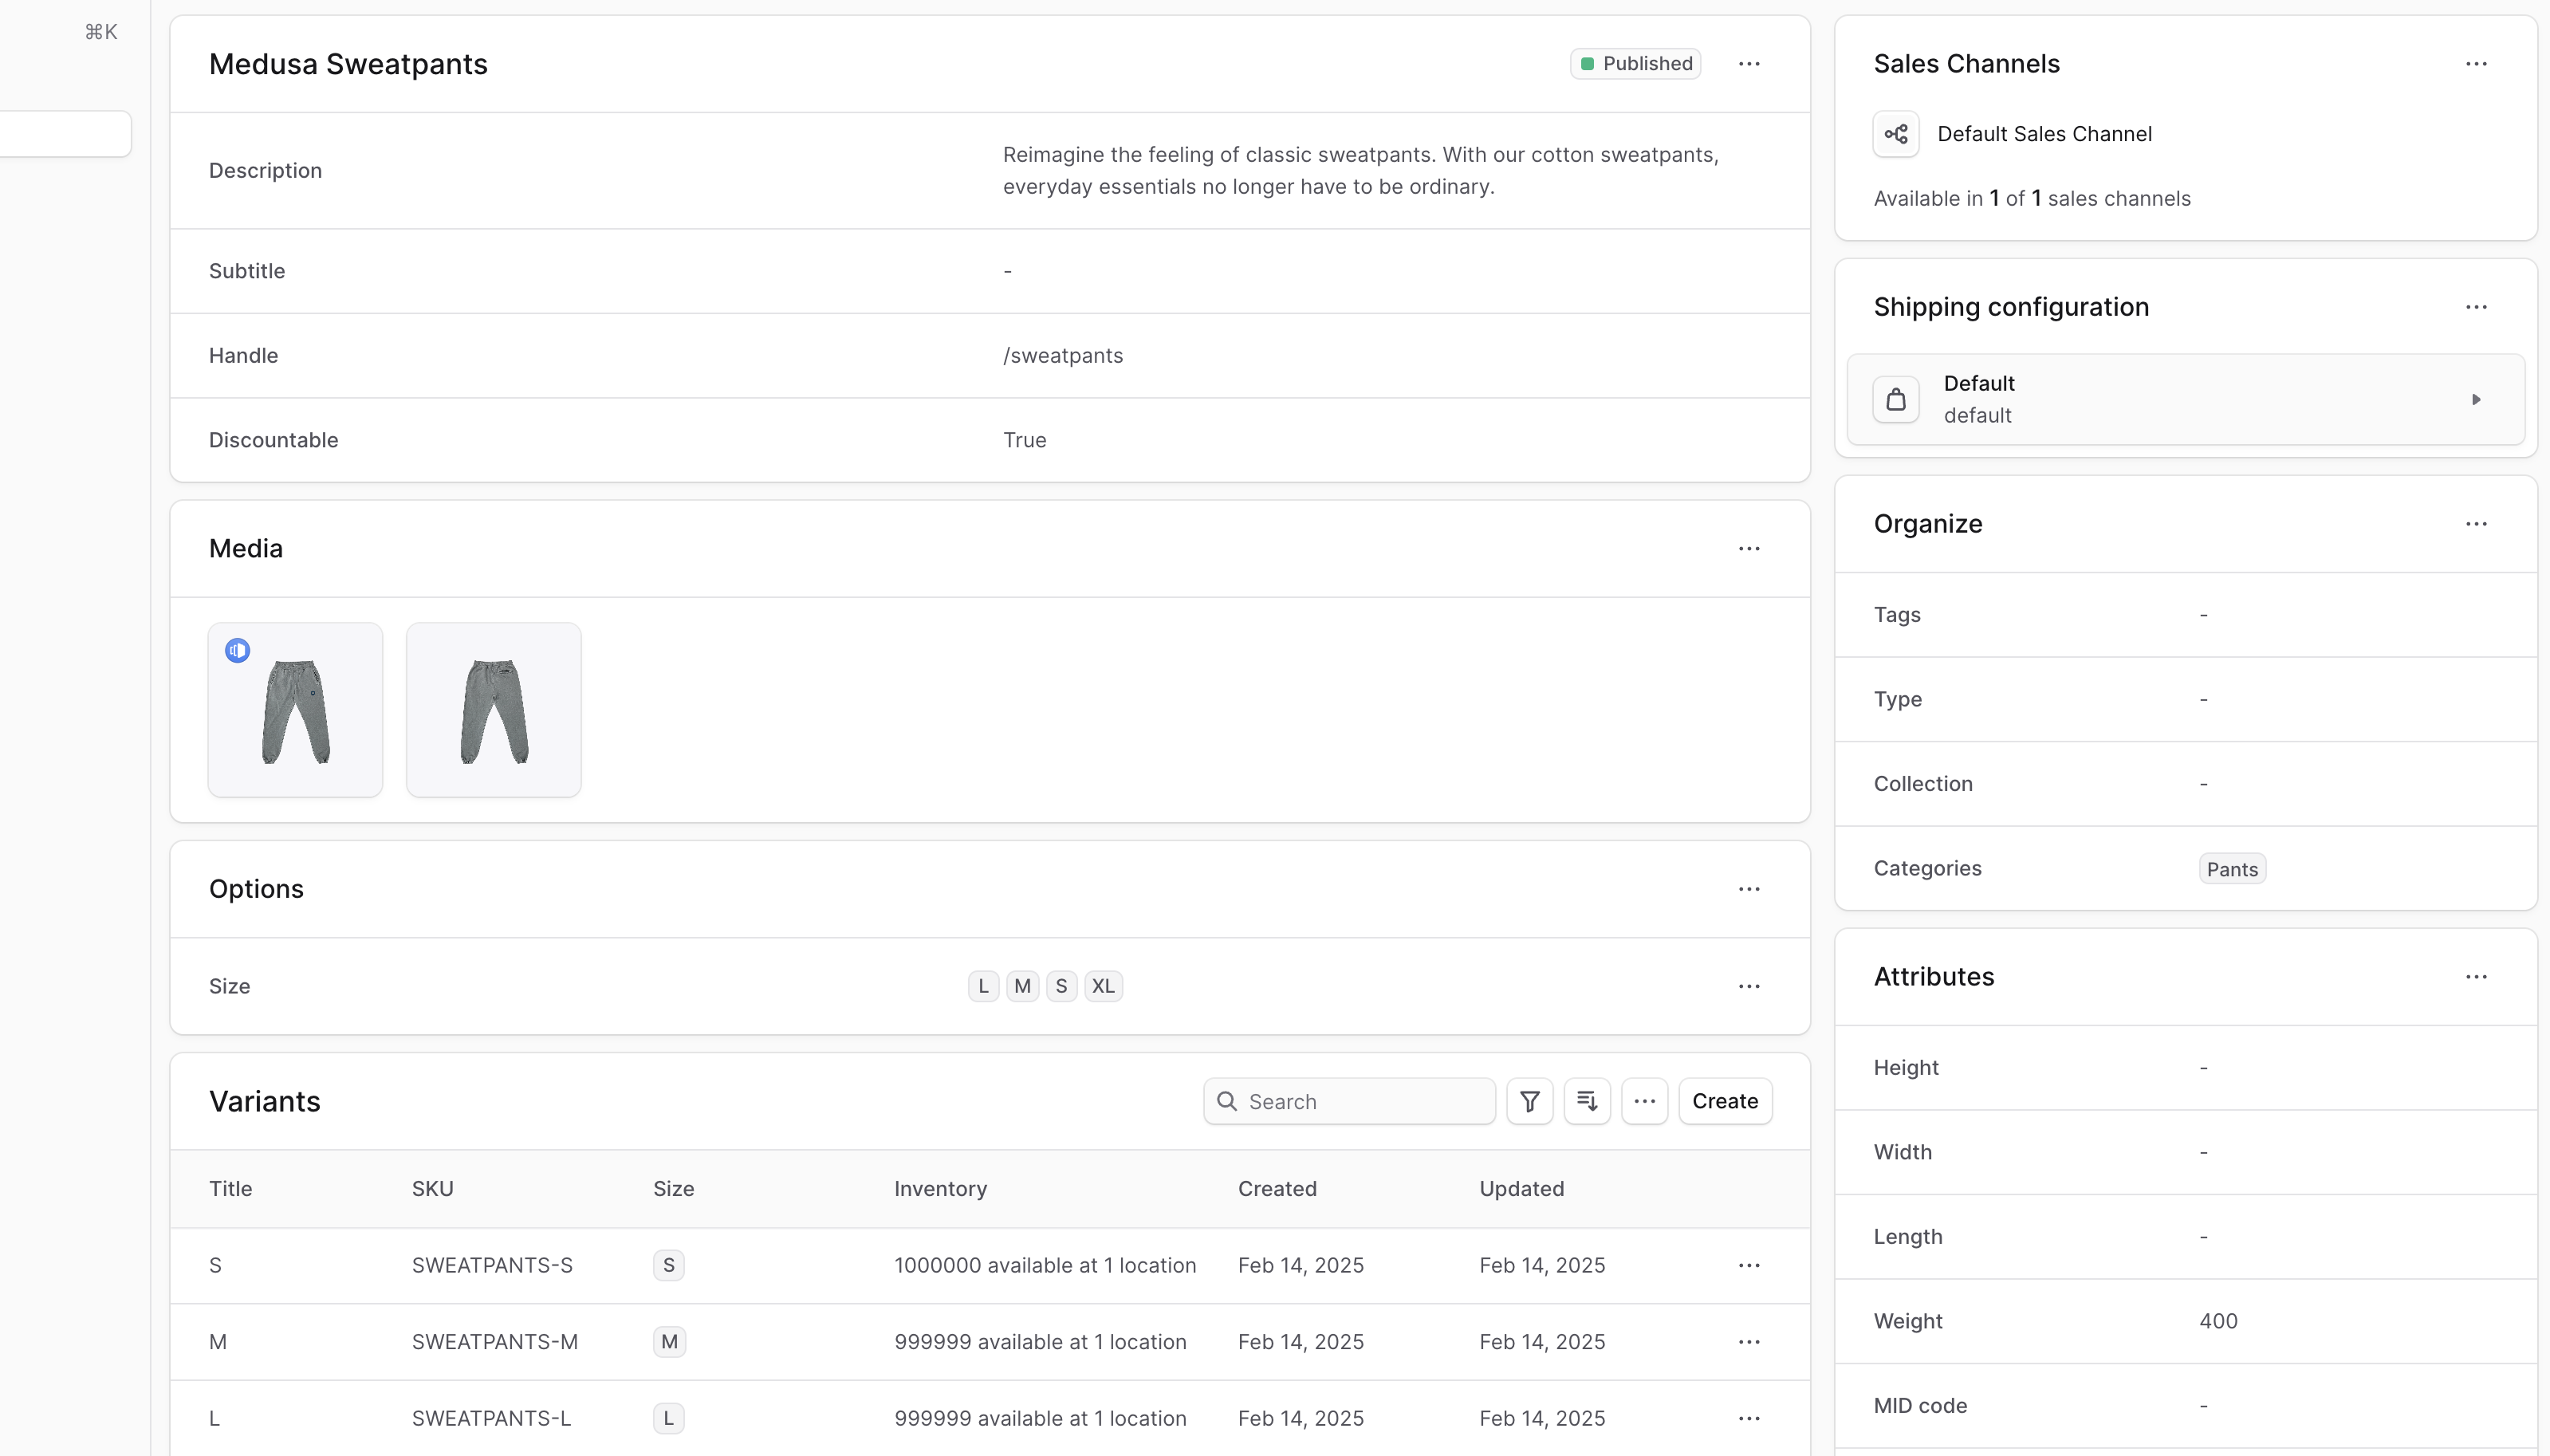
The primary product information section (displaying the product title as header) contains essential product data and configuration options. This central hub provides access to all core product management functions.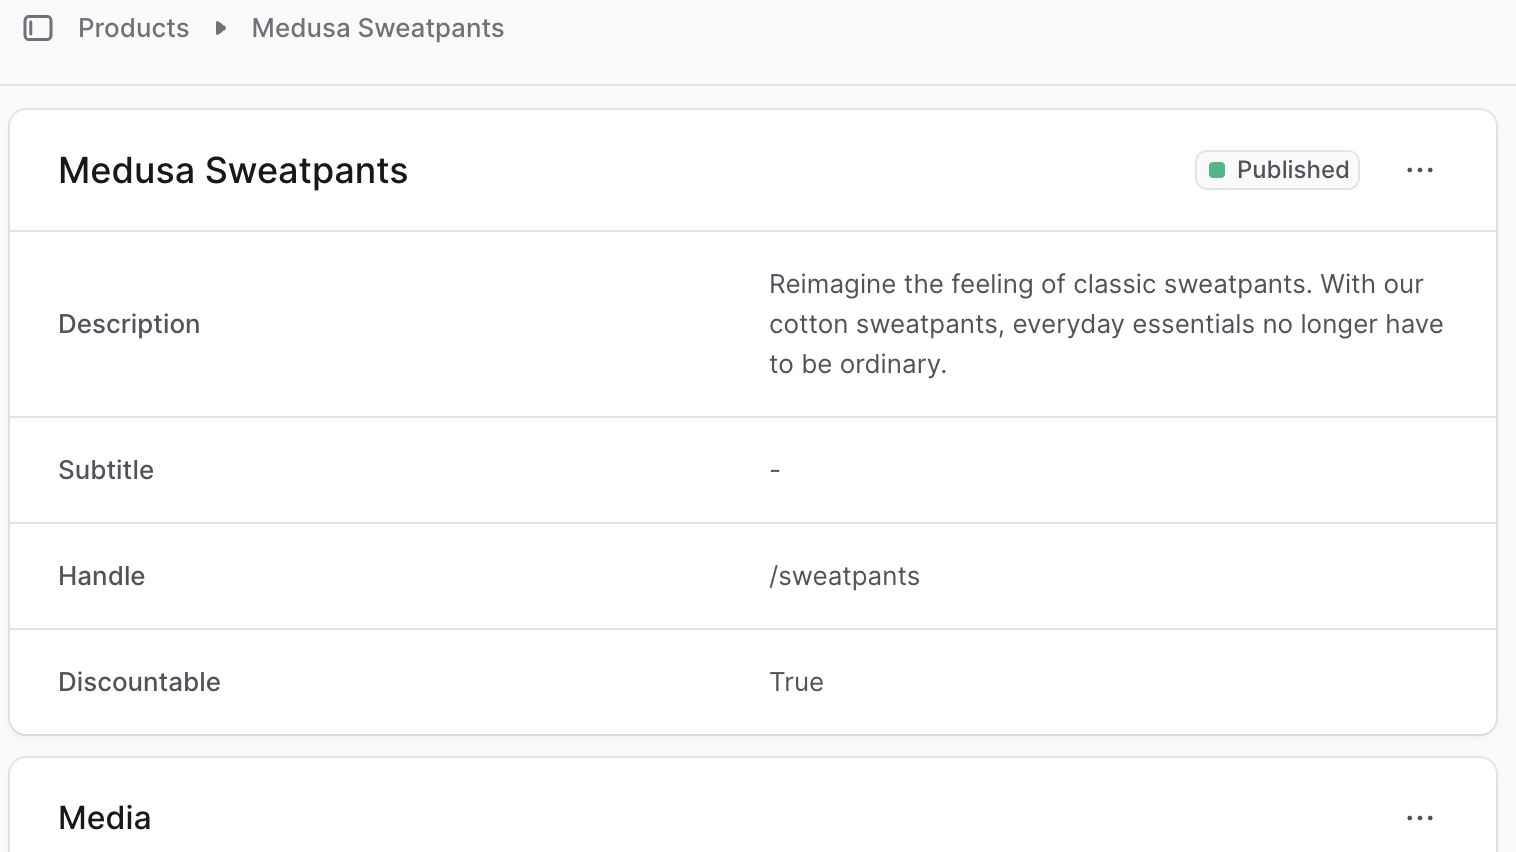
Product Status Control
Product status indicators appear at the top right of the product information section. BoxNCase supports four distinct product statuses to manage your product lifecycle:| Status | Description | Use Case |
|---|---|---|
| Published | Product is live and available for purchase | Active products ready for customer orders |
| Draft | Product exists but is not visible to customers | Products in development or preparation |
| Proposed | Product awaiting approval or review | Products requiring management approval |
| Rejected | Product declined or removed from consideration | Products that didn’t meet approval criteria |
Note: Only Published products are visible to customers and available for purchase on your storefront. |
Edit Product Details
To edit the product’s general details:- Click on the ⋯ icon at the top right of the section.
- Choose “Edit” from the dropdown.
- In the side window that opens, you can edit the product’s status, title, subtitle, handle, material, description, and whether it’s discountable.
- Once you’re done, click the “Save” button.
Product Deletion
Products can be permanently removed from your catalog when no longer needed.Warning: Product deletion is irreversible and will permanently remove all associated data including variants, pricing, and order history references.To delete a product:
- Click on the ⋯ icon at the top right of the section.
- Choose “Delete” from the dropdown.
- Confirm deleting the product by clicking the “Delete” button in the pop-up.
Media Management
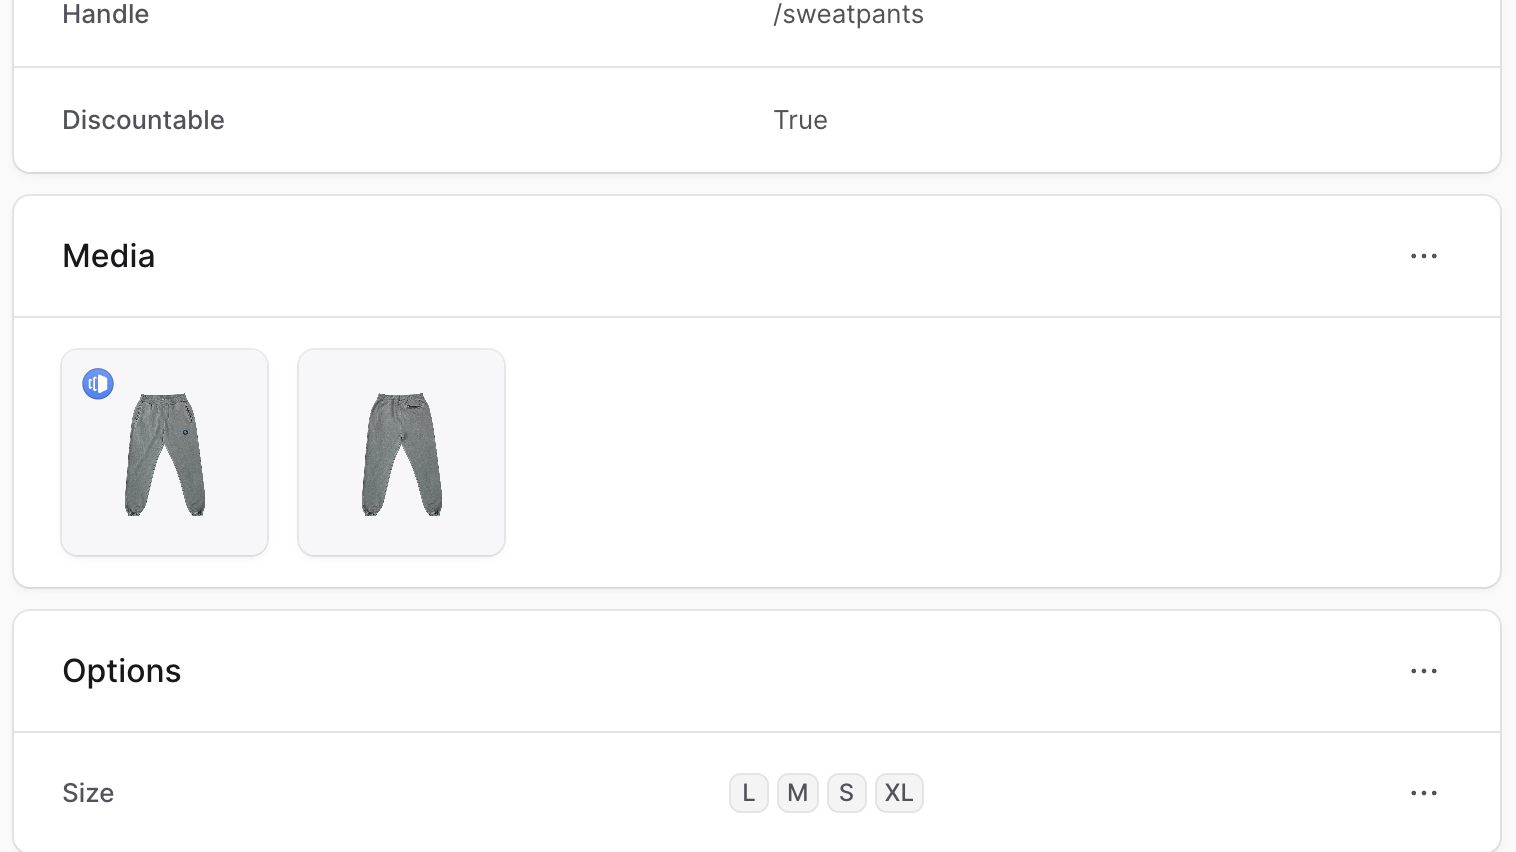
The Media section provides comprehensive image management for your products. High-quality product images are essential for customer engagement and conversion.Image Management Features
- Upload multiple product images
- Set primary thumbnail image
- Reorder image display sequence
- Delete unwanted images
- Optimize images for different display contexts
Add Images
To add images to the product:- Click on the ⋯ icon at the top right of the “Media” section.
- Choose “Edit” from the dropdown.
- In the form that opens, upload images either by dragging and dropping them or by clicking the “Upload images” box.
- Once you’re done, click the Save button.
Edit Images Order
You can edit the order that images are shown in. To do this:- Click on the ⋯ icon at the top right of the “Media” section.
- Choose “Edit” from the dropdown.
- In the form that opens, drag and drop images to change their order.
- Once you’re done, click the Save button.
Set Thumbnail Image
The product’s thumbnail image has the 🎨 icon at its top left. To set an image as the thumbnail:- Click on the ⋯ icon at the top right of the “Media” section.
- Choose “Edit” from the dropdown.
- Hover over the image you want to make as a thumbnail, then click on its checkbox.
- Press
Tor click the “Make thumbnail” button at the bottom of the page. - Once you’re done, click the Save button.
Delete Images
You can delete the images from the product’s page or from the images form. To delete product images:- Hover over the product images you want to delete and click their checkbox.
- Press
Dor click the “Delete” button at the bottom of the page. - Confirm deleting the images by clicking the “Delete” button in the pop-up.
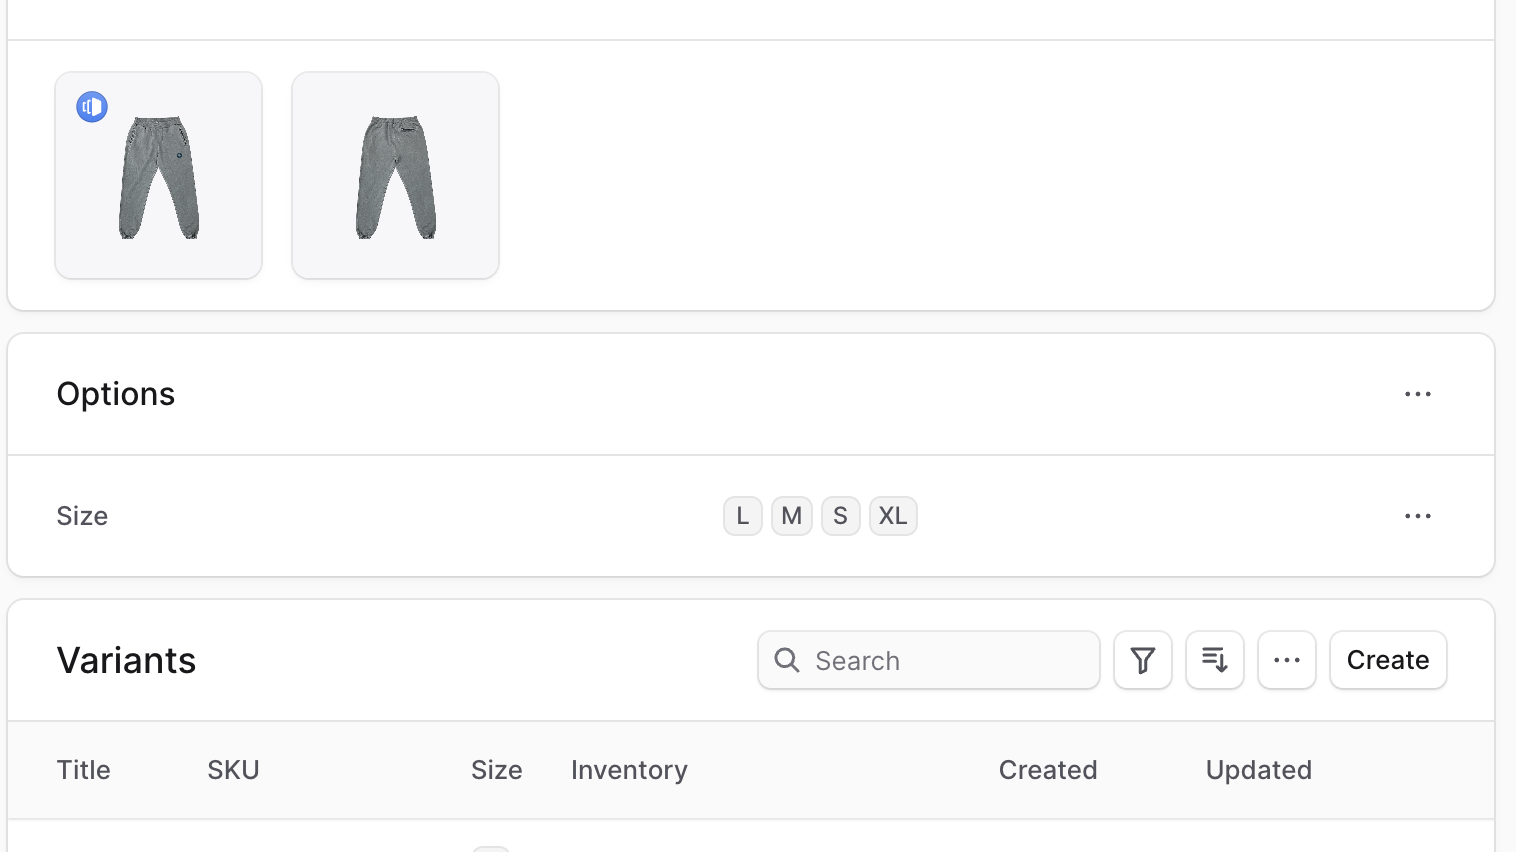
Product Options Configuration
Product options define the variants available for your products (such as size, color, material). The Options section allows you to manage these variant-defining characteristics.Options Management
- Create new product options with multiple values
- Modify existing option titles and values
- Remove options (affects all associated variants)
- Configure option-based variant generation
Creating New Options
Important: When adding options to existing products, you must manually create the corresponding variants. This differs from the product creation process where variants are automatically generated.To add a new option to the product:
- Click on the ⋯ icon at the top right of the “Options” section.
- Choose Create from the dropdown.
- In the side window that opens:
- In the Option title field, enter the option’s title, such as “Color”.
- In the Values field, enter the option’s values, such as “Red, Blue, Green”. Values are separated by a comma.
- Once you’re done, click the Save button.
Edit Option
To edit an option:- Click on the ⋯ icon at the right of the option.
- Choose Edit from the dropdown.
- In the side window that opens, you can edit the option’s title and values.
- Once you’re done, click the Save button.
Option Removal
Warning: Option deletion is irreversible and will affect all associated product variants. Ensure you want to permanently remove the option before proceeding.To delete an option:
- Click on the ⋯ icon at the right of the option.
- Choose Delete from the dropdown.
- Confirm deleting the option by clicking the Delete button in the pop-up.
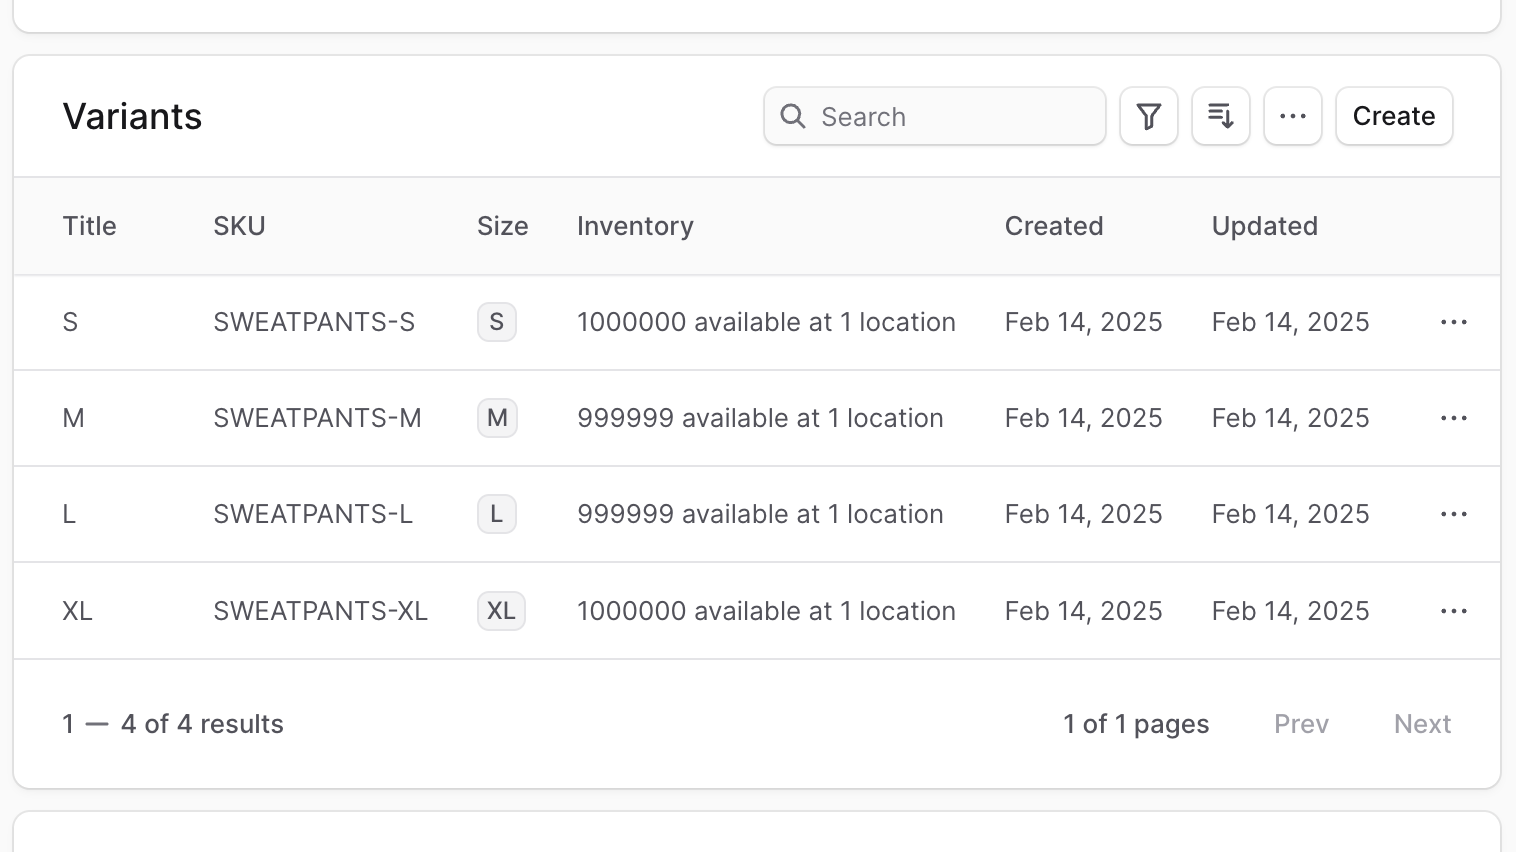
Variant Management
The Variants section provides comprehensive management of all product variations. This powerful interface allows you to:- View All Variants: Display complete variant listings with key information
- Search and Filter: Quickly locate specific variants using advanced filters
- Bulk Operations: Perform actions on multiple variants simultaneously
- Individual Management: Access detailed configuration for each variant
- Inline Editing: Make quick changes directly in the variant list
Metadata Management
Metadata provides flexible storage for custom product information using key-value pairs. This feature is essential for:- Custom Integrations: Store data required by third-party systems
- Extended Attributes: Add product information beyond standard fields
- System Integration: Support custom business logic and workflows
- Development Support: Provide data for custom features and functionality
- Click the ↗ icon at the right of the “Metadata” section.
- In the side window that opens:
- Manage the key-value pairs in the table.
- To add a new row of key-value pairs before or after a row:
- Hover over the row and click the ⋮ icon at its right.
- Choose “Insert row above” or “Insert row below” from the dropdown.
- To delete a row of key-value pairs:
- Hover over the row and click the ⋮ icon at its right.
- Choose “Delete row” from the dropdown.
- Once you’re done, click the Save button.
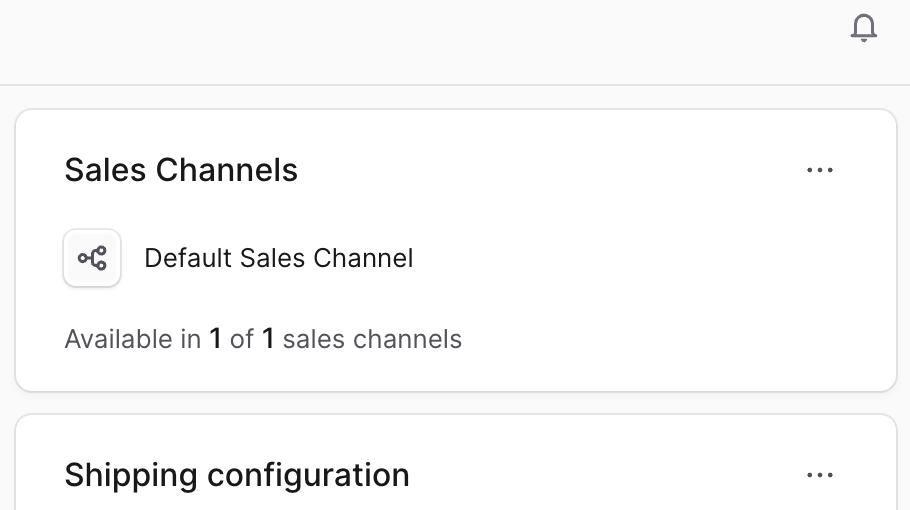
Sales Channel Management
Sales channels determine where your products are available for purchase. Proper channel management ensures products reach the right customers through appropriate channels.Channel Configuration
- Control product availability across different sales channels
- Configure channel-specific product settings
- Manage multi-channel inventory and pricing
- Coordinate product launches across channels
 To manage the sales channels a product is available in:
Important: Removing a product from a sales channel immediately makes it unavailable for purchase through that channel. Ensure this aligns with your sales strategy before making changes.
- Click the ⋯ icon at the top right of the “Sales Channels” section.
- Choose Edit from the dropdown.
- In the list that shows, check the sales channels you want to add the product to, or unchecked the ones you want to remove the product from.
- Once you’re done, click the Save button.
Shipping Configuration
Shipping profiles determine how products can be shipped, including shipping methods, costs, and restrictions. Proper shipping configuration ensures accurate shipping options for customers.Shipping Profile Features
- Define available shipping methods for the product
- Configure shipping costs and calculations
- Set shipping restrictions and requirements
- Coordinate with fulfillment and logistics systems

Edit Product’s Shipping Profile
To edit the product’s shipping profile:- Click the ⋯ icon at the top right of the “Shipping Configuration” section.
- Choose Edit from the dropdown.
- In the side window that opens, choose the shipping profile from the dropdown.
- Once you’re done, click the Save button.
Product Organization
The Organization section manages how products are categorized and grouped within your catalog structure. Proper organization improves customer browsing and internal management.Organization Features
- Product Type: Classify products by business category
- Collections: Group products for marketing and promotional purposes
- Categories: Organize products in browsable hierarchies
- Tags: Add searchable keywords and labels
 To edit the product’s organization details:
- Click the ⋯ icon at the top right of the “Organize” section.
- Choose Edit from the dropdown.
- In the side window that opens, you can set the product’s type, collection, categories, and tags.
- Once you’re done, click the Save button.
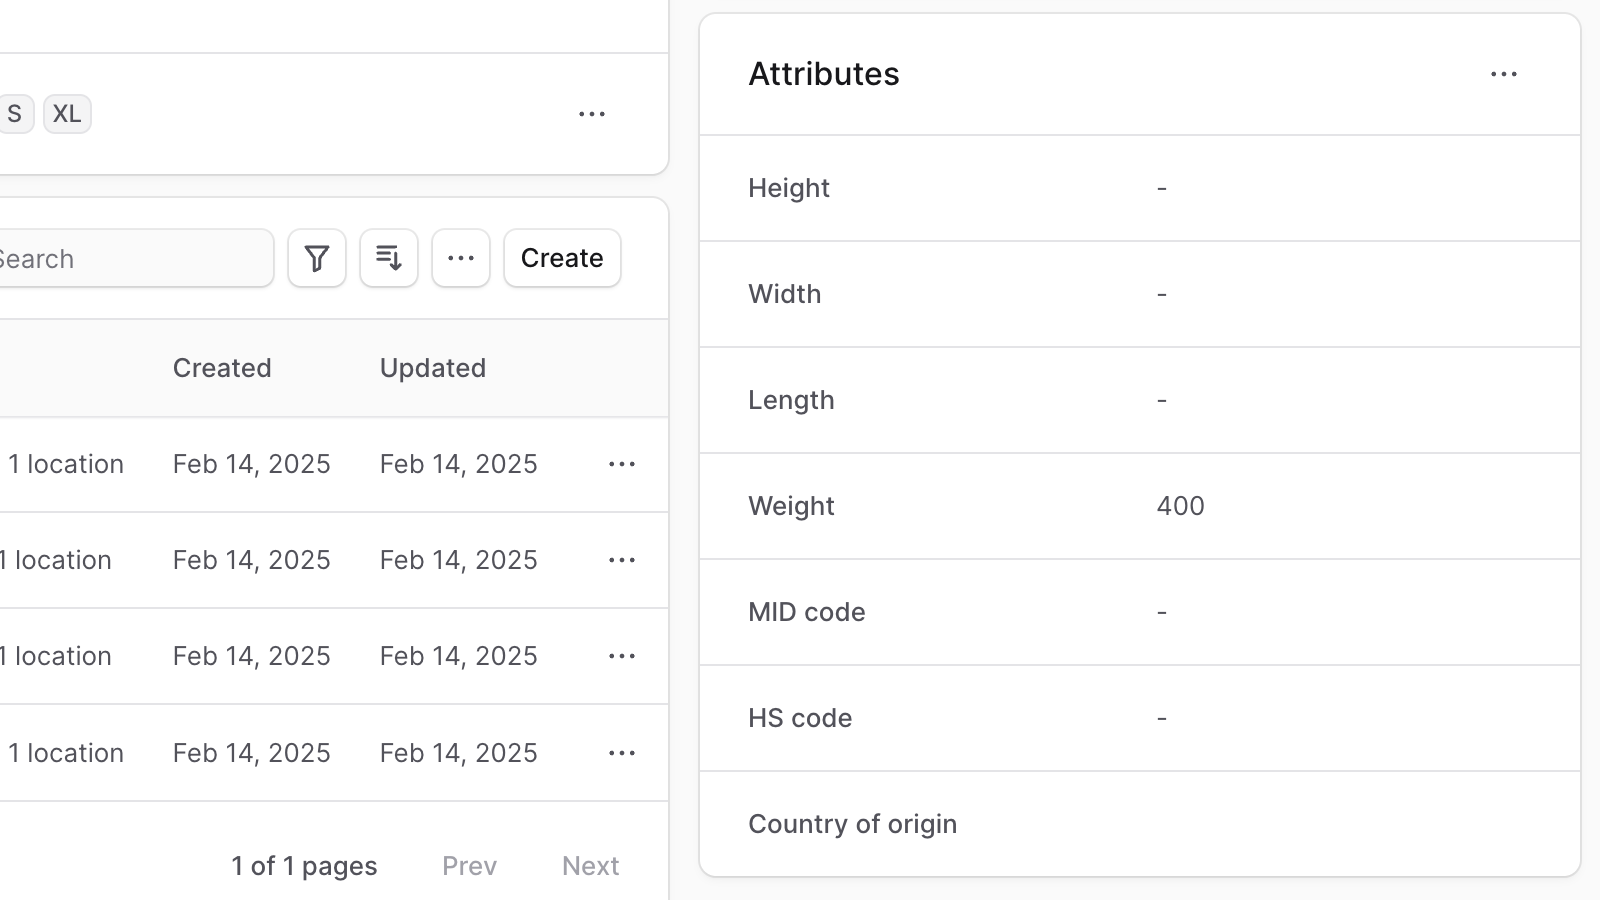
Product Attributes
Product attributes store physical and regulatory information essential for shipping, compliance, and customer information.Attribute Categories
- Physical Dimensions: Width, height, length for shipping calculations
- Weight Information: Product weight for shipping and logistics
- Regulatory Data: HS codes, country of origin for customs and compliance
- Identification Codes: MID codes and other business identifiers
 To edit the product’s attributes:
- Click the ⋯ icon at the top right of the “Attributes” section.
- Choose Edit from the dropdown.
- In the side window that opens, you can set the product’s width, height, length, weight, MID code, HS code, and country of origin.
- Once you’re done, click the Save button.
Developer Tools
JSON Data View
The JSON section provides developers with raw product data in structured JSON format. This tool is valuable for:- Debugging: Troubleshoot product-related issues
- Integration Development: Understand data structure for API integrations
- Data Analysis: Examine complete product configuration
- Quality Assurance: Verify data integrity and completeness
Best Practices
Product Information
- Regular Updates: Keep product information current and accurate
- Consistent Formatting: Use standardized naming and description formats
- Quality Images: Maintain high-resolution, professional product images
- Complete Attributes: Fill all relevant attribute fields for better functionality
Status Management
- Planned Releases: Use Draft status for products in development
- Approval Workflows: Leverage Proposed status for review processes
- Lifecycle Management: Transition products through appropriate statuses
Organization Strategy
- Logical Categorization: Assign products to intuitive categories
- Strategic Collections: Create collections that support marketing goals
- Effective Tagging: Use consistent, searchable tags
Important: Changes to fundamental product structure (options, variants) may affect existing orders and inventory. Plan changes carefully and communicate impacts to relevant teams.To view the JSON structure, click on the ↗ icon.