Import Products in BoxNCase Admin
Product import functionality provides powerful capabilities for migrating from other platforms or performing bulk product operations. This comprehensive system supports creating new products and updating existing ones through flexible CSV-based workflows.Import Products from a CSV File
If you’re migrating from another commerce platform, or from BoxNCase Partners v1, you can import products into BoxNCase Partners using a CSV file. When you import the CSV file, BoxNCase Partners will either create or update products based on the CSV file you upload.CSV File Format
In the import form, you can download a template CSV file to see the format required for the import.CSV File Rows
Each row in the CSV file represents a product variant to create or update. So, if a product has multiple variants, each variant will have its own row in the CSV file. For example, a product with two variants (red and blue) will have two rows in the CSV file, one for the red variant and one for the blue variant.CSV File Columns
The columns in the CSV file holds the details of the product variant and its associated product. The CSV file can have the following columns: |Column|Description| |---|---|---| | | | | | | | | | | | | | | | | | | | | | | | | | | | | | | | | | | | | | | | | | | | | | | | | | | | | | | | | | | | | | | | | | | | | | | | | | | | | | | | | | | | | | | | | | | | |Import List of Products
Prerequisites
To import products:- Go to the Products page.
- Click on the Import button at the top right.
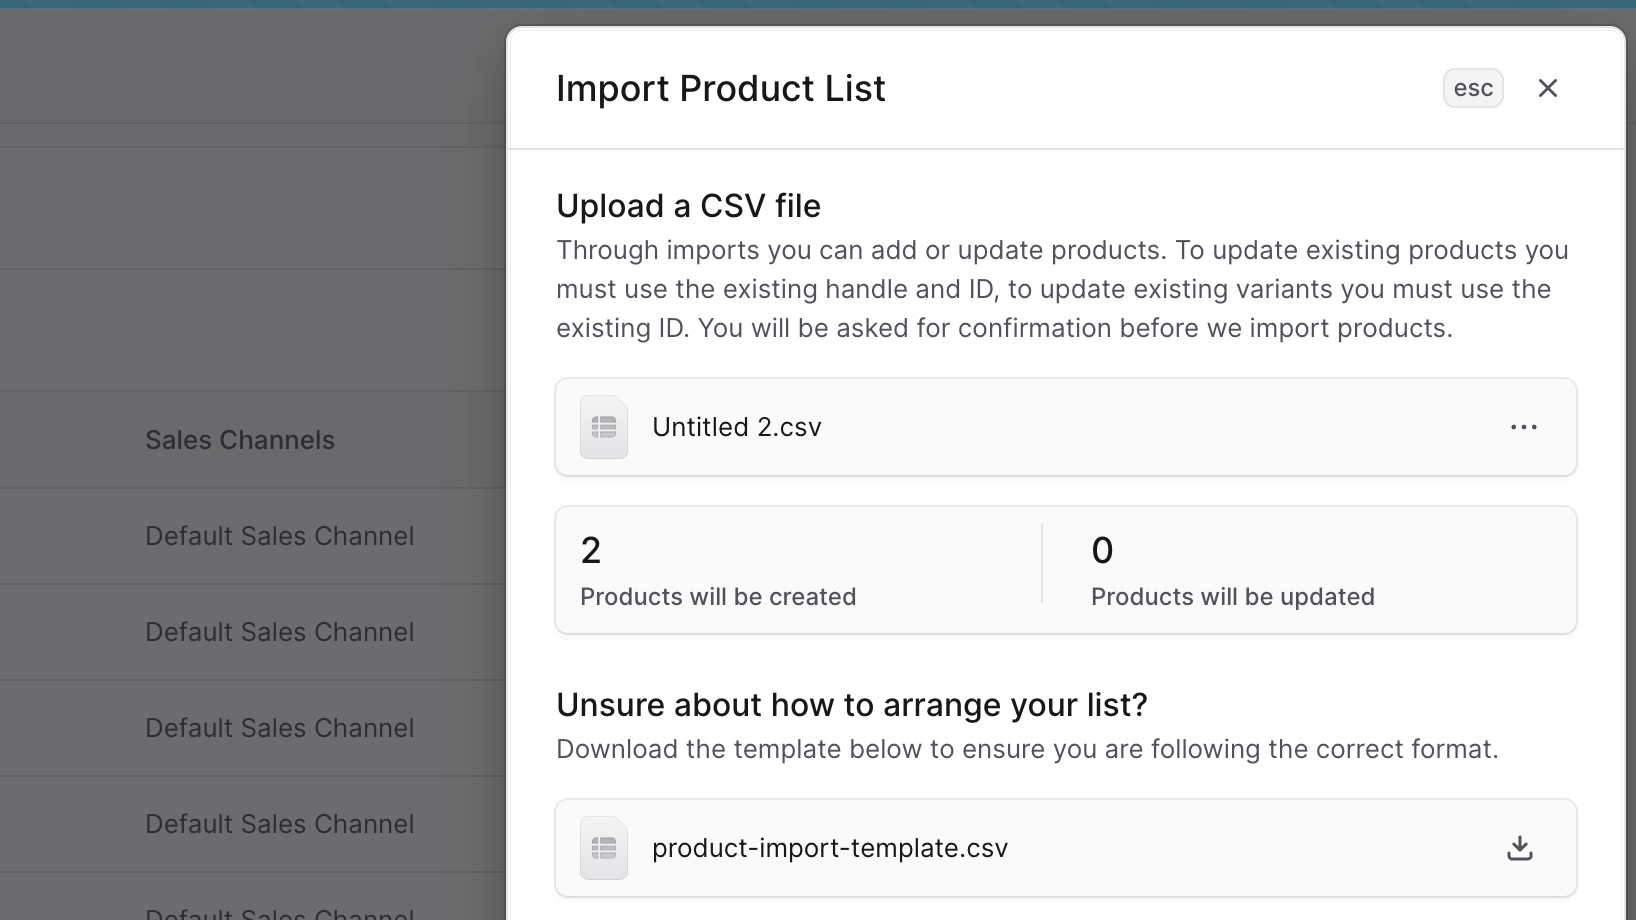
- In the side window:
- If you’re unsure of what the CSV file’s format must be like, you can download the template CSV file.
- To upload the CSV file you want to import products from, either drag-and-drop the file to the upload area or click on the area to open a file picker.
- After you upload the CSV file:
- Check the number of products to be created or updated.
- To remove the uploaded file, click the ⋯ icon, and choose Delete from the dropdown.
- Once you’re done, click the Import button.
 This starts the import process which may take some time.
Check Import Status
To check whether the import is in progress, finished, or failed:- Click on the 🔔 icon at the top right of the page.
- Find the product import, which should be the latest item on the list.
Best Practices
Data Preparation
- Template Usage: Always start with the official CSV template
- Data Validation: Validate all data before import
- Incremental Testing: Test with small batches before full imports
- Backup Strategy: Backup existing data before major imports
Import Strategy
- Staged Imports: Break large imports into manageable chunks
- Off-Peak Timing: Schedule large imports during low-traffic periods
- Progress Monitoring: Monitor import status and respond to issues promptly
- Post-Import Review: Verify imported data accuracy after completion
Error Prevention
- Format Compliance: Ensure strict adherence to CSV template format
- Required Fields: Populate all mandatory fields completely
- Data Consistency: Maintain consistent data formats and values
- Character Encoding: Use UTF-8 encoding for international character support
Important: Product imports can significantly impact your catalog and storefront. Always test import processes with sample data first, and plan imports during maintenance windows when possible to minimize customer impact.