Manage Invites in BoxNCase Admin
Streamline team expansion with BoxNCase’s comprehensive invitation system. Send invitations to new team members, track pending invites, and ensure smooth onboarding processes for your admin users.Overview
The invitation system provides:- Secure user onboarding through email invitations
- Pending invite tracking and management
- Invitation resending and link generation
- Invitation revocation capabilities
- Automated notification system
Add Admin Users through Invites
BoxNCase uses an invitation-based system for secure user onboarding. This approach ensures: Security Benefits:- Controlled access to admin functions
- Verified email addresses for all users
- Audit trail for user additions
- Prevention of unauthorized access
- Send invitations from a recognized email address
- Include clear instructions in invitation messages
- Set expectations for response timeframes
- Follow up on pending invitations
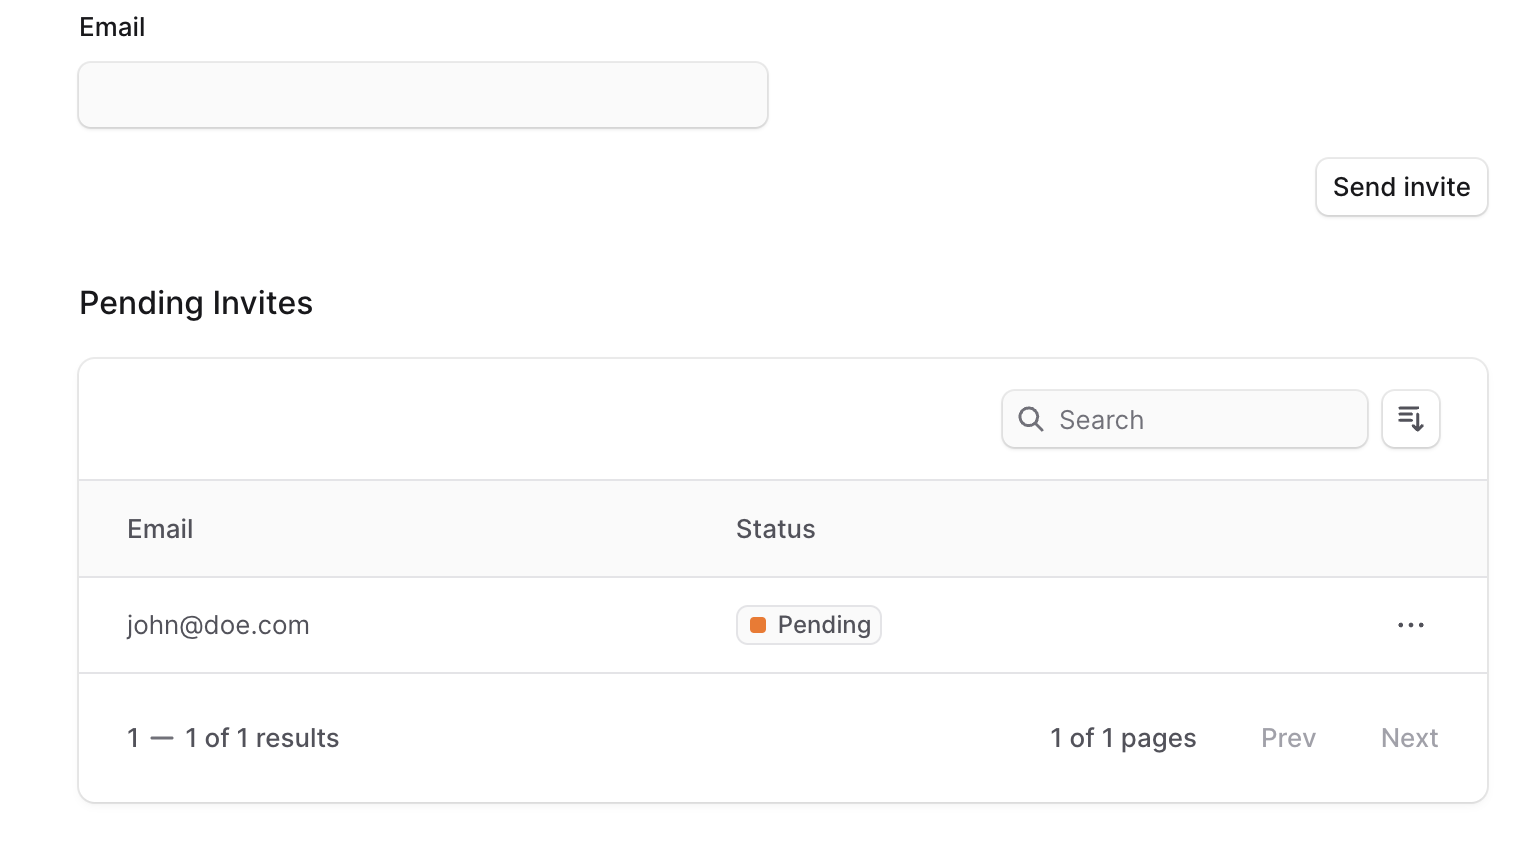
Invite a User
To send an invite to a user:- Go to Settings ’ Users.
- Click the Invite button.
- Enter the user’s email.
- Once done, click on the “Send invite” button.

View Pending Invites
To view pending invites:- Go to Settings ’ Users.
- Click the Invite button.
- Below the form, you’ll find a Pending Invites table with all the invites that haven’t been accepted yet.
Resend an Invite
Invitation resending is useful for various scenarios: Common Reasons to Resend:- Email delivery issues or spam filtering
- Lost or deleted invitation emails
- Expired invitation links
- User requests for new invitation
- Technical issues during initial sending
- Verify the email address before resending
- Check with the user about email delivery issues
- Consider alternative communication methods
- Monitor invitation expiration times
- Go to Settings ’ Users.
- Click the Invite button.
- In the Pending Invites table, find the user to resend their invite and click on the ⋯ icon.
- Choose “Resend invite” from the dropdown.
Get Invite Link
In addition to sending the user an invite, you can copy the invite link and send it manually to the user. To copy the invite link:- Go to Settings → Users.
- Click the Invite button.
- In the Pending Invites table, find the user to resend their invite and click on the ⋯ icon.
- Choose Copy invite link from the dropdown.
Delete Invite
Important: Invitation deletion is permanent and immediately revokes access. When to Delete Invitations:- Role changes or organizational restructuring
- Security concerns or policy violations
- Incorrect email addresses or targeting
- User no longer requires access
- Cleanup of old, unused invitations
- Immediate revocation of invitation link
- User cannot sign up with deleted invitation
- Removal from pending invitations list
- No notification sent to invited user
- Go to Settings → Users.
- Click the Invite button.
- In the Pending Invites table, find the user to resend their invite and click on the ⋯ icon.
- Choose Delete from the dropdown.
- Confirm deleting the invite by clicking the Delete button in the pop-up.