Sales Channels Management in BoxNCase Admin
Maximize your BoxNCase store’s reach with comprehensive sales channel management. Create multiple channels for different markets, control product availability, and optimize performance across web, mobile, marketplace, and custom platforms.Overview
Sales channels enable:- Multi-platform selling strategies
- Channel-specific product catalogs
- Independent inventory management
- Performance tracking per channel
- Custom fulfillment workflows
What is a Sales Channel?
Sales Channel Flexibility: Sales channels represent distinct selling platforms or methods: Common Channel Types:- Web storefront for desktop customers
- Mobile app for on-the-go shopping
- Social media integrations (Instagram, Facebook)
- Marketplace platforms (Amazon, eBay)
- B2B portals for wholesale customers
- Physical store POS systems
- Partner affiliate channels
- Handle requests without specific channel designation
- Simplify single-channel operations
- Provide fallback for integration issues
- Streamline initial store setup
How Sales Channels Work
Sales Channel Integration: Channels integrate deeply with your store’s operations: Product Availability Control:- Channel-specific product catalogs
- B2B vs. B2C product segregation
- Regional product restrictions
- Seasonal or promotional exclusives
- Inventory allocation per channel
- Channel-specific fulfillment rules
- Different shipping options per channel
- Varied processing times and methods
- Custom documentation and packaging
- Channel-specific customer communication
- Stock location associations for efficient fulfillment
- Shipping option optimization per channel
- Performance analytics and reporting
- Revenue attribution and tracking
- Customer journey analysis
- Associate storefronts with specific channels
- Implement channel-specific logic
- Track channel performance programmatically
- Enable channel-based customizations
View Sales Channels
To view sales channels in your store, go to Settings → Sales Channels. Here, you can see a list of all the sales channels you have set up in your store. You can also search, filter, and sort the sales channels to find the one you are looking for.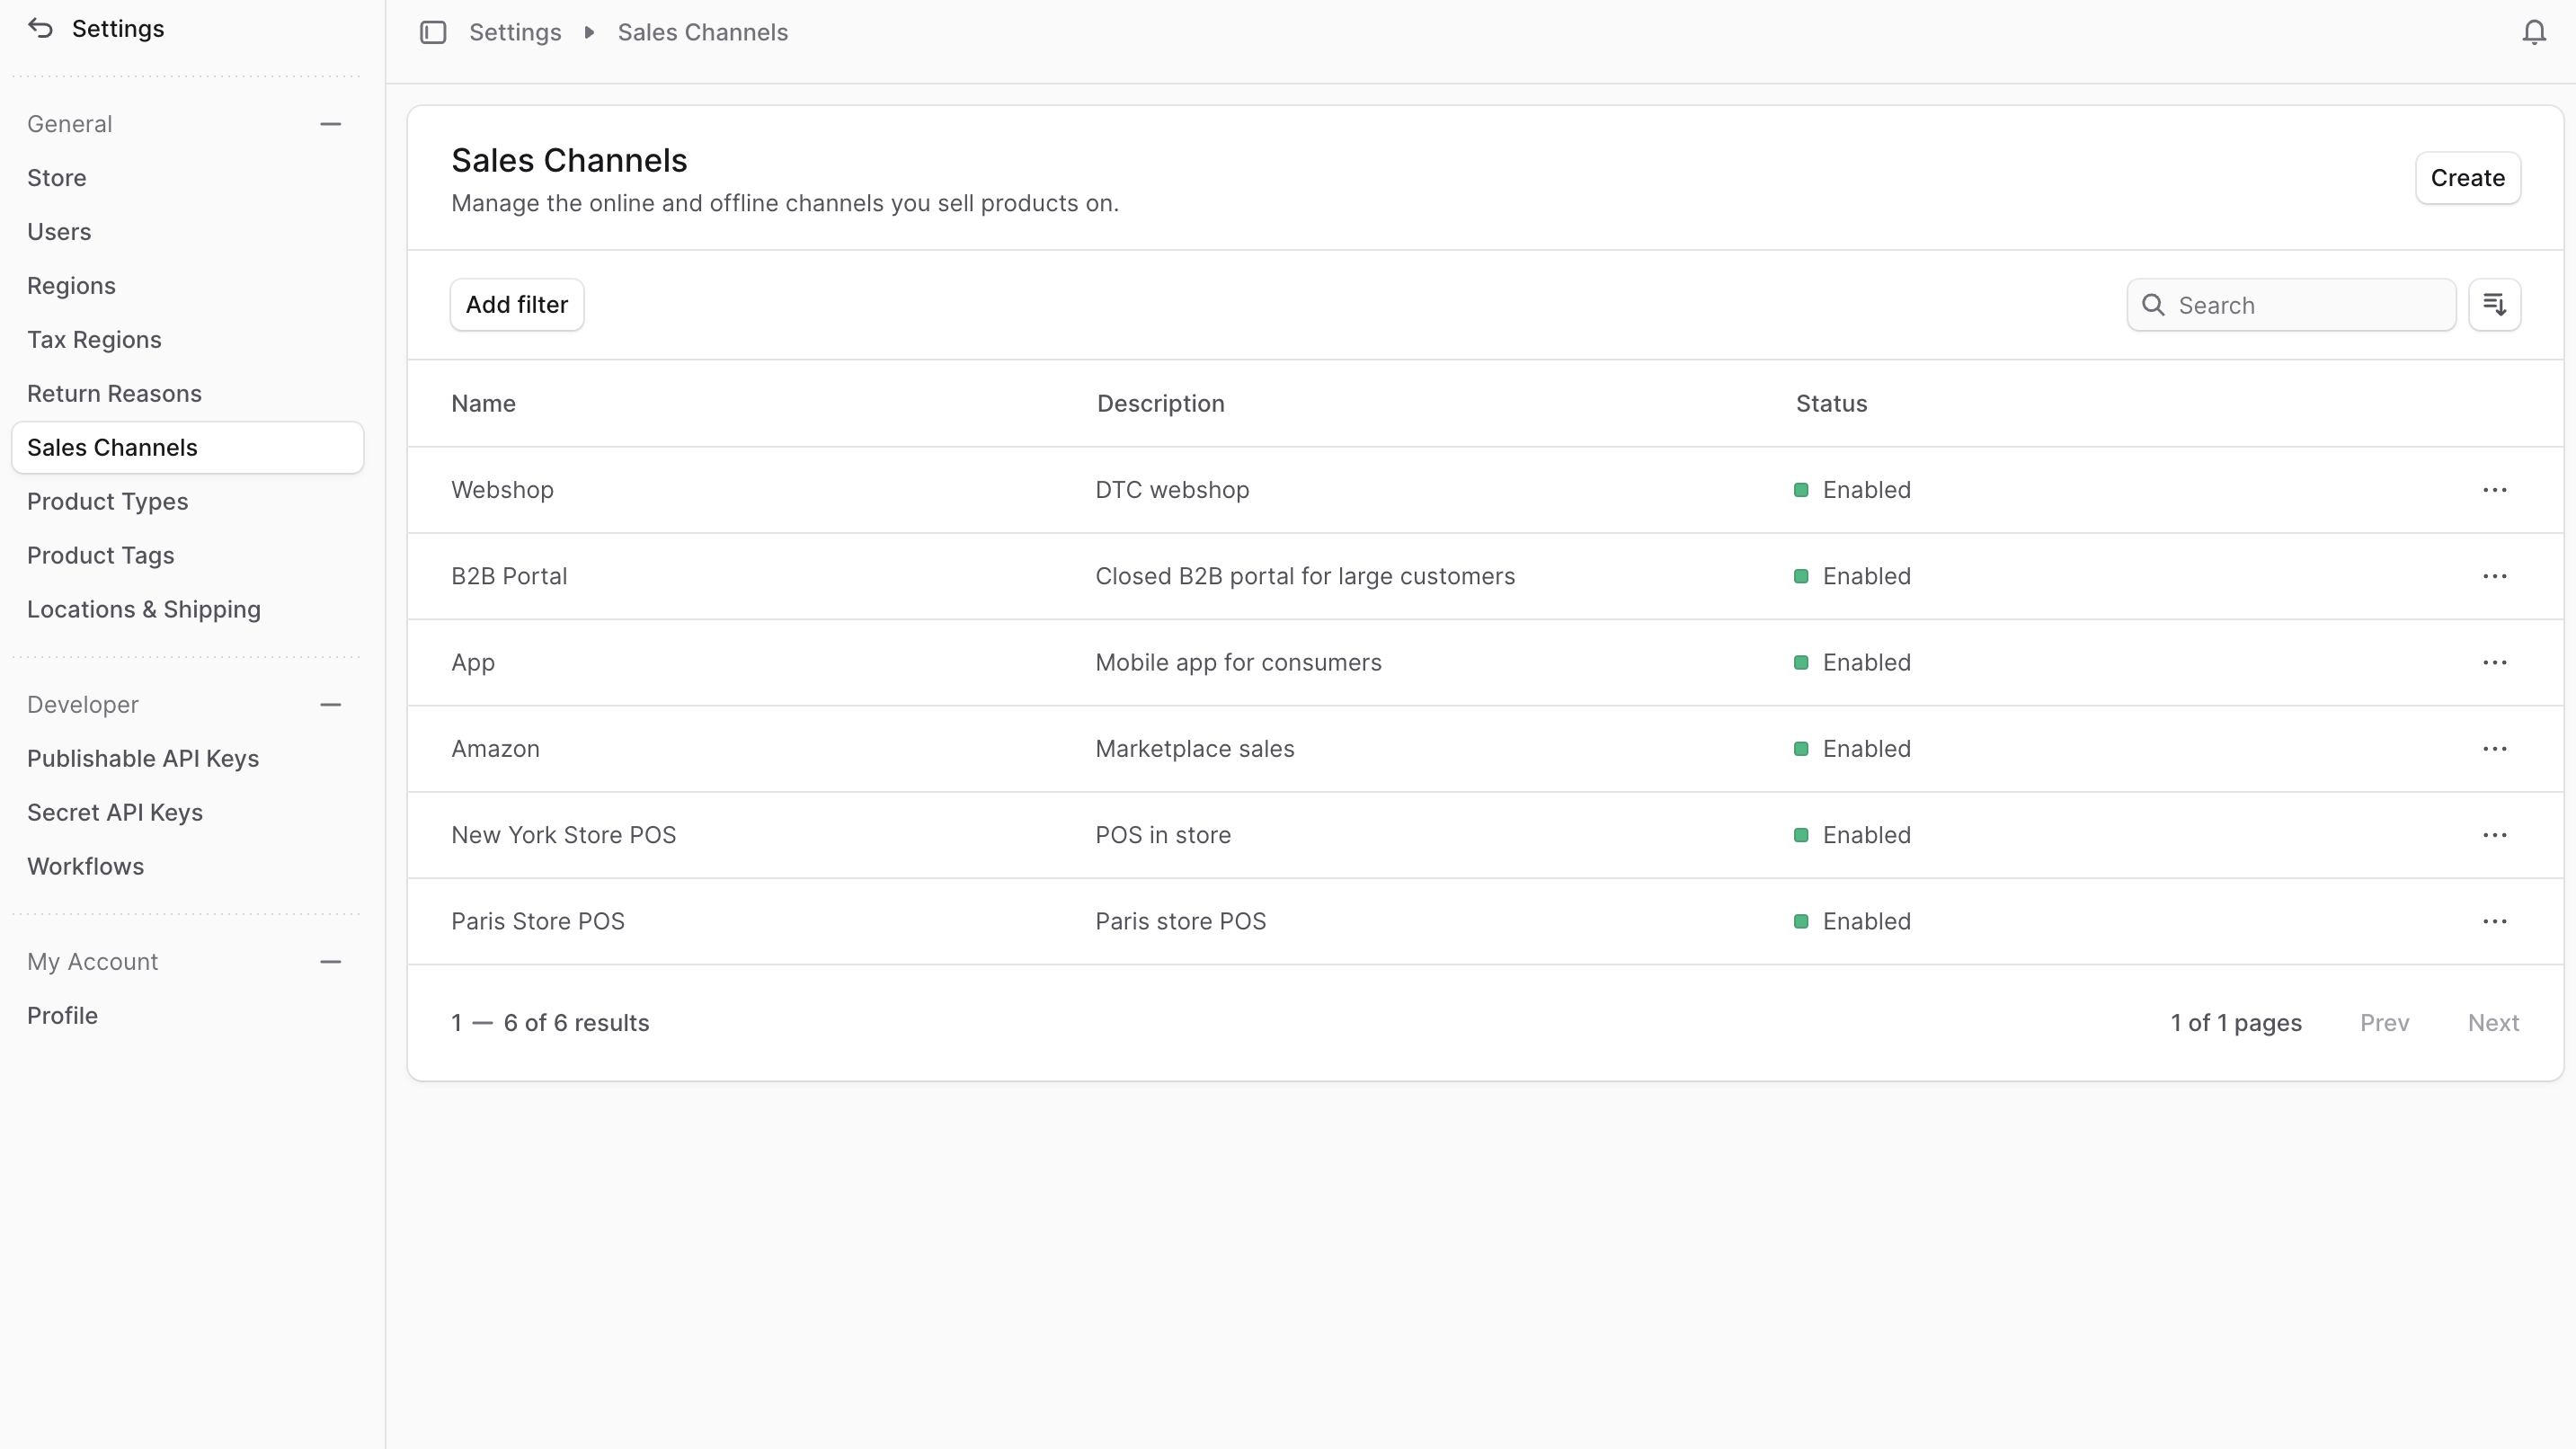
Create Sales Channel
To create a sales channel:- Go to Settings → Sales Channels.
- Click the Create button at the top right.
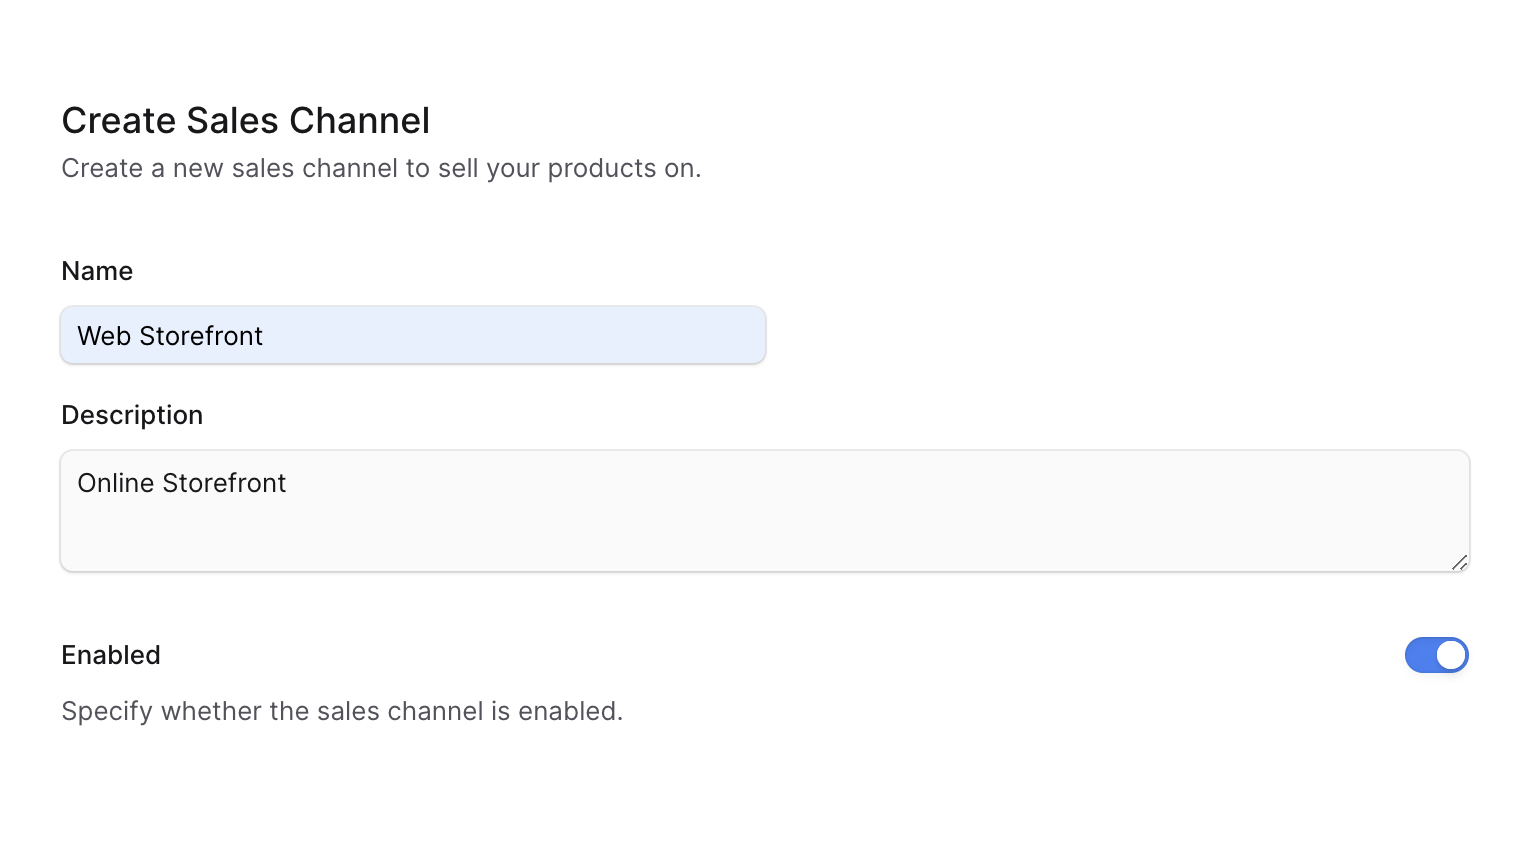
- In the form that opens:
- In the Name field, enter a name for the sales channel. For example, “Web Storefront”.
- In the Description field, enter a description of the sales channel.
- If you don’t want to enable the sales channel immediately, disable the “Enabled” toggle.
- Once you’re done, click the Save button.
View Sales Channel Details
To view the details of a sales channel:- Go to Settings → Sales Channels.
- Click on a sales channel from the list.
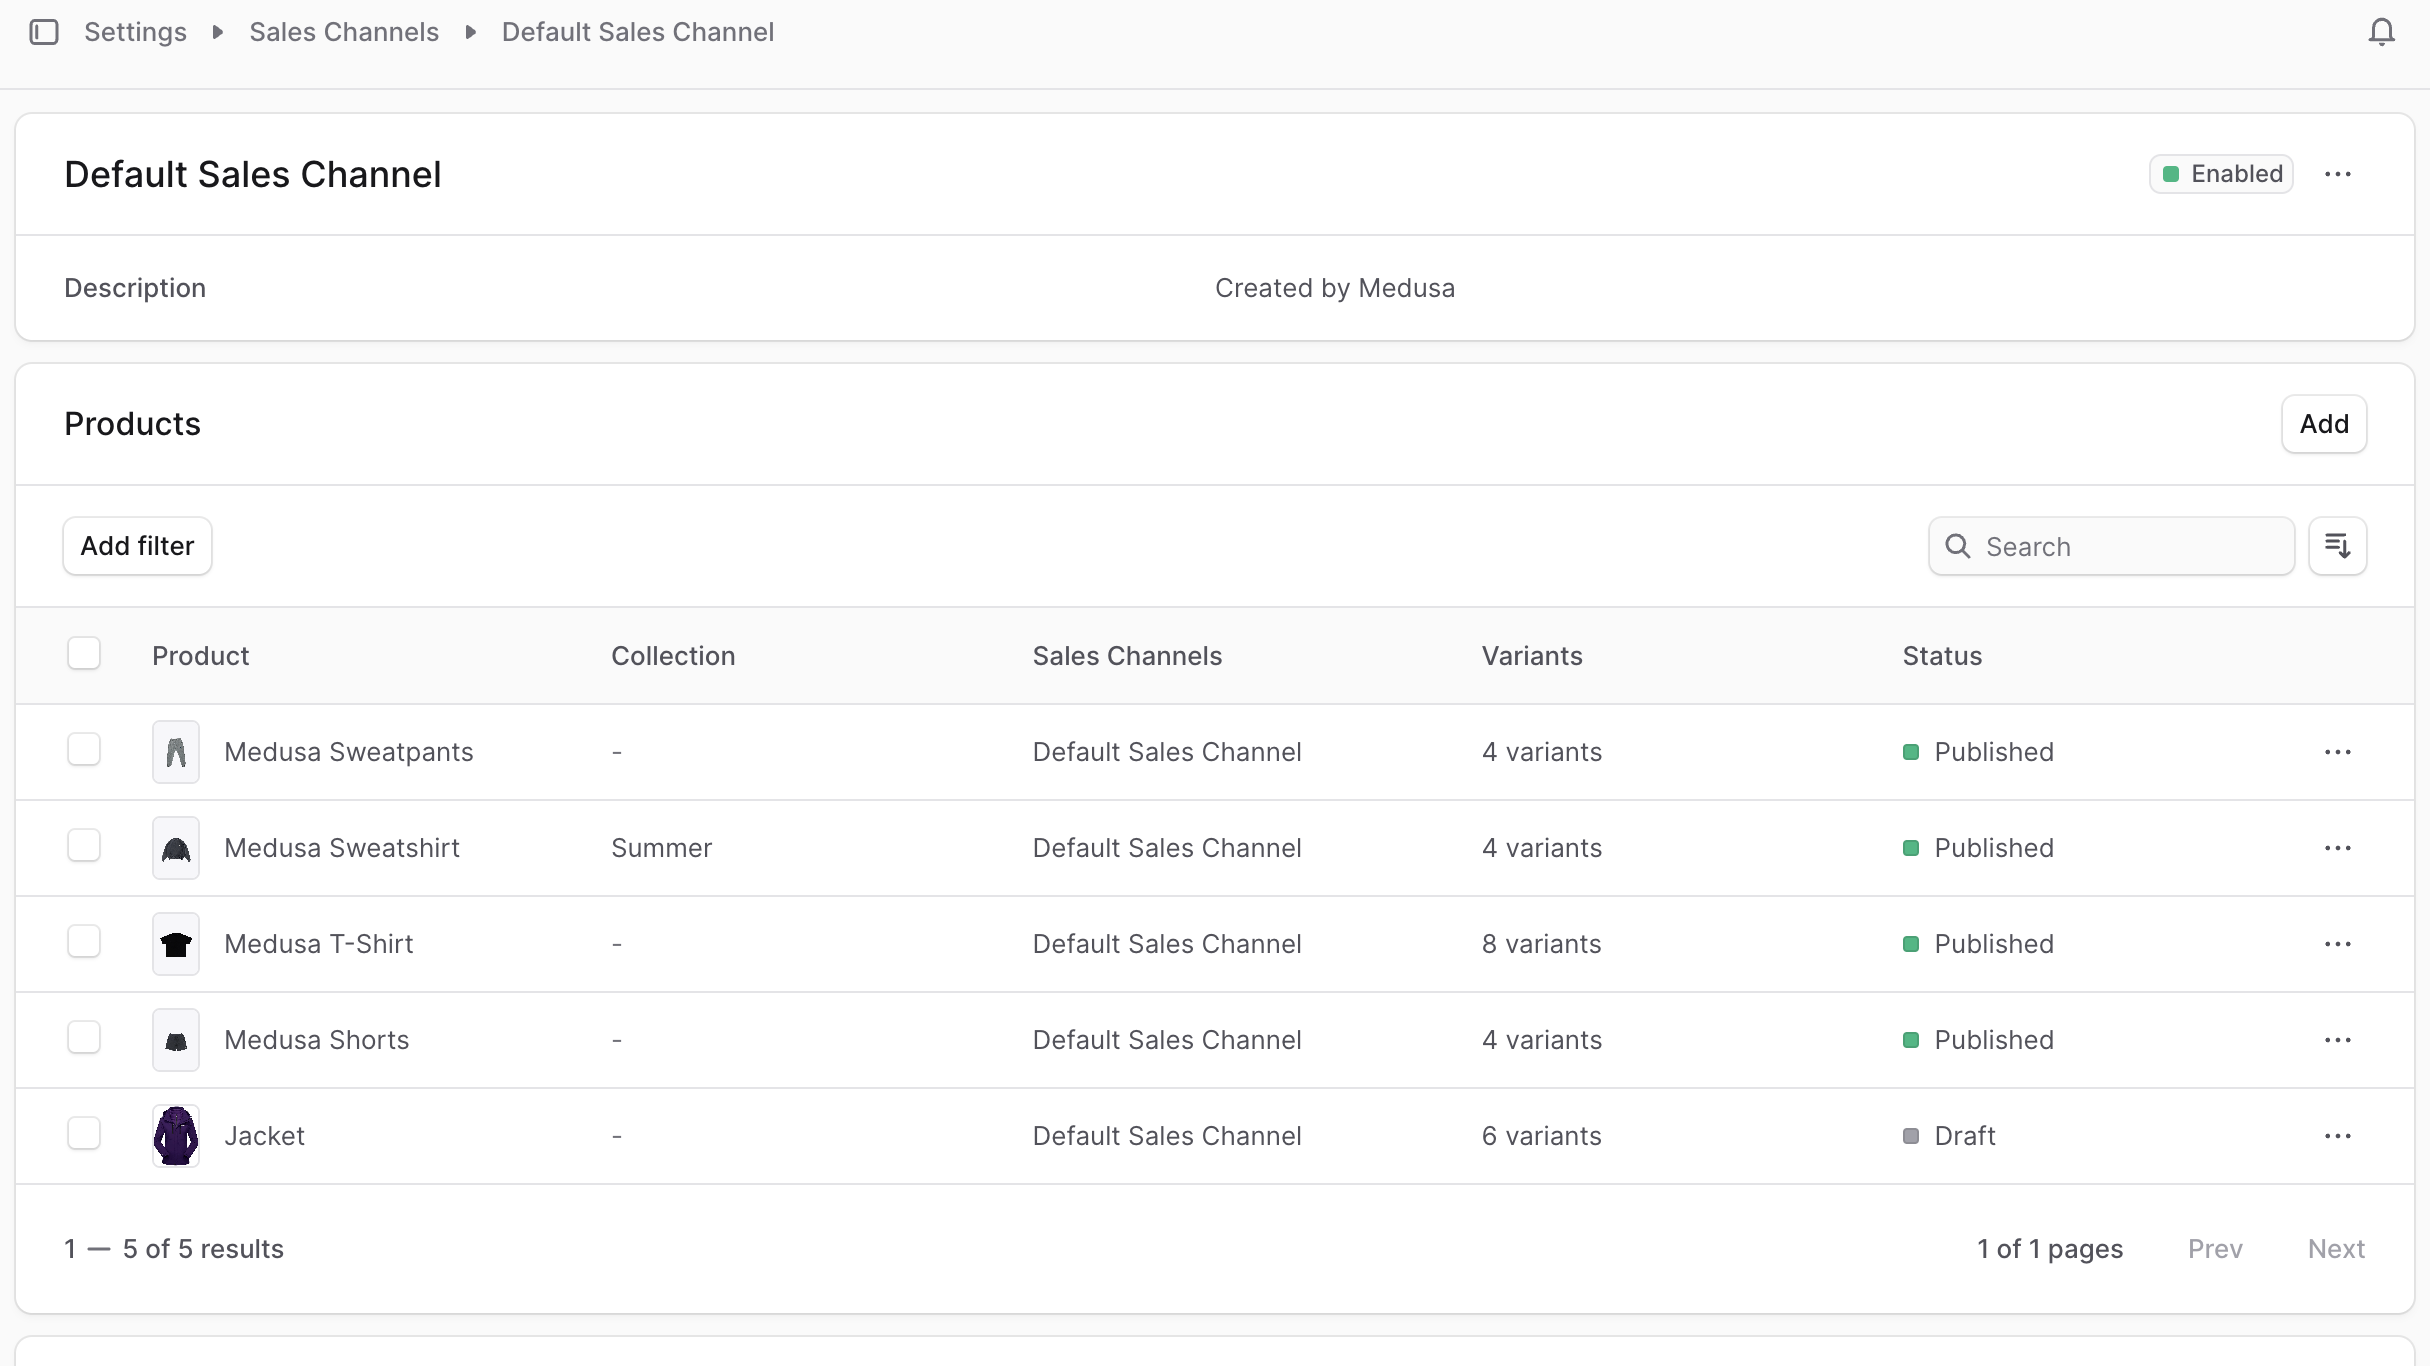
Sales Channel Status
The status of a sales channel is shown at the top right of the first section in the details page. The status can be either “Enabled” or “Disabled”. You can change the status by editing the sales channel details.Edit Sales Channel Details
To edit the details of a sales channel:- Go to the sales channel’s details page.
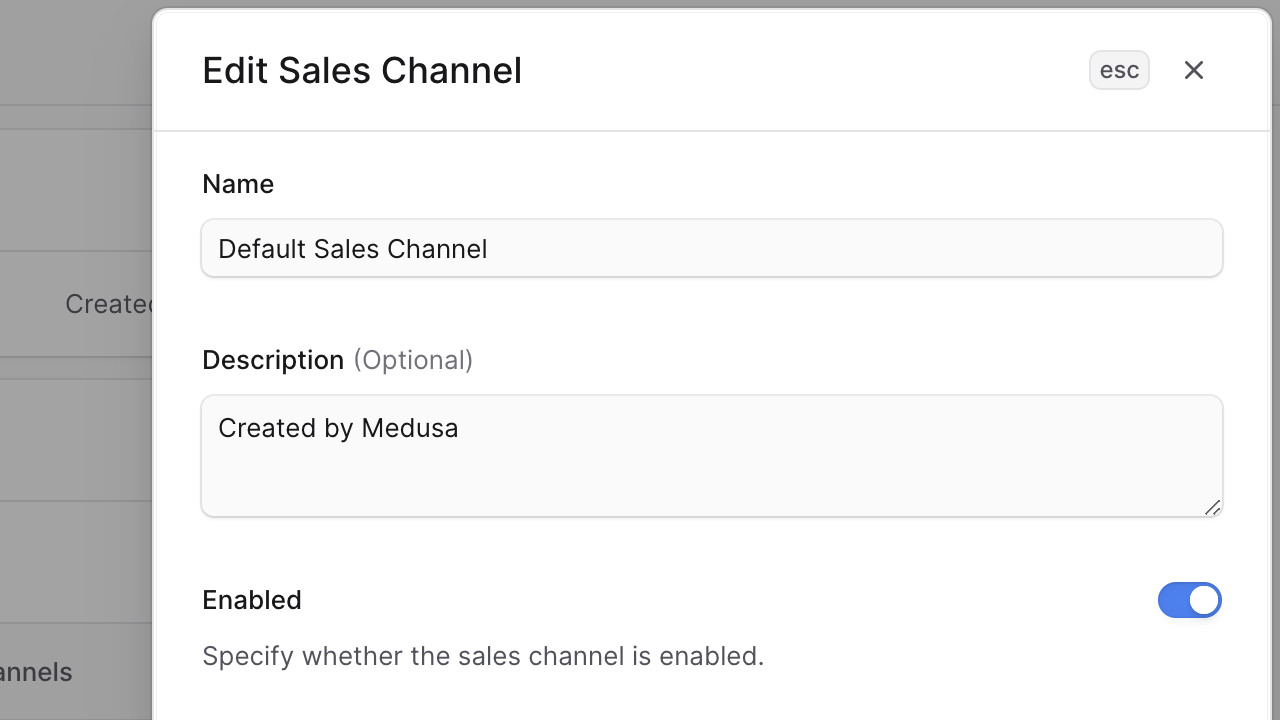
- Click the ⋯ icon at the top right of the first section.
- Choose Edit from the dropdown.
- In the side window that opens, you can edit the sales channel’s name, description, and whether it’s enabled.
- Once you’re done, click the Save button.
Manage Products in Sales Channel
You can manage the products available in a sales channel from the sales channel’s details page.Add Products to Sales Channel
To add products to a sales channel:- Go to the sales channel’s details page.
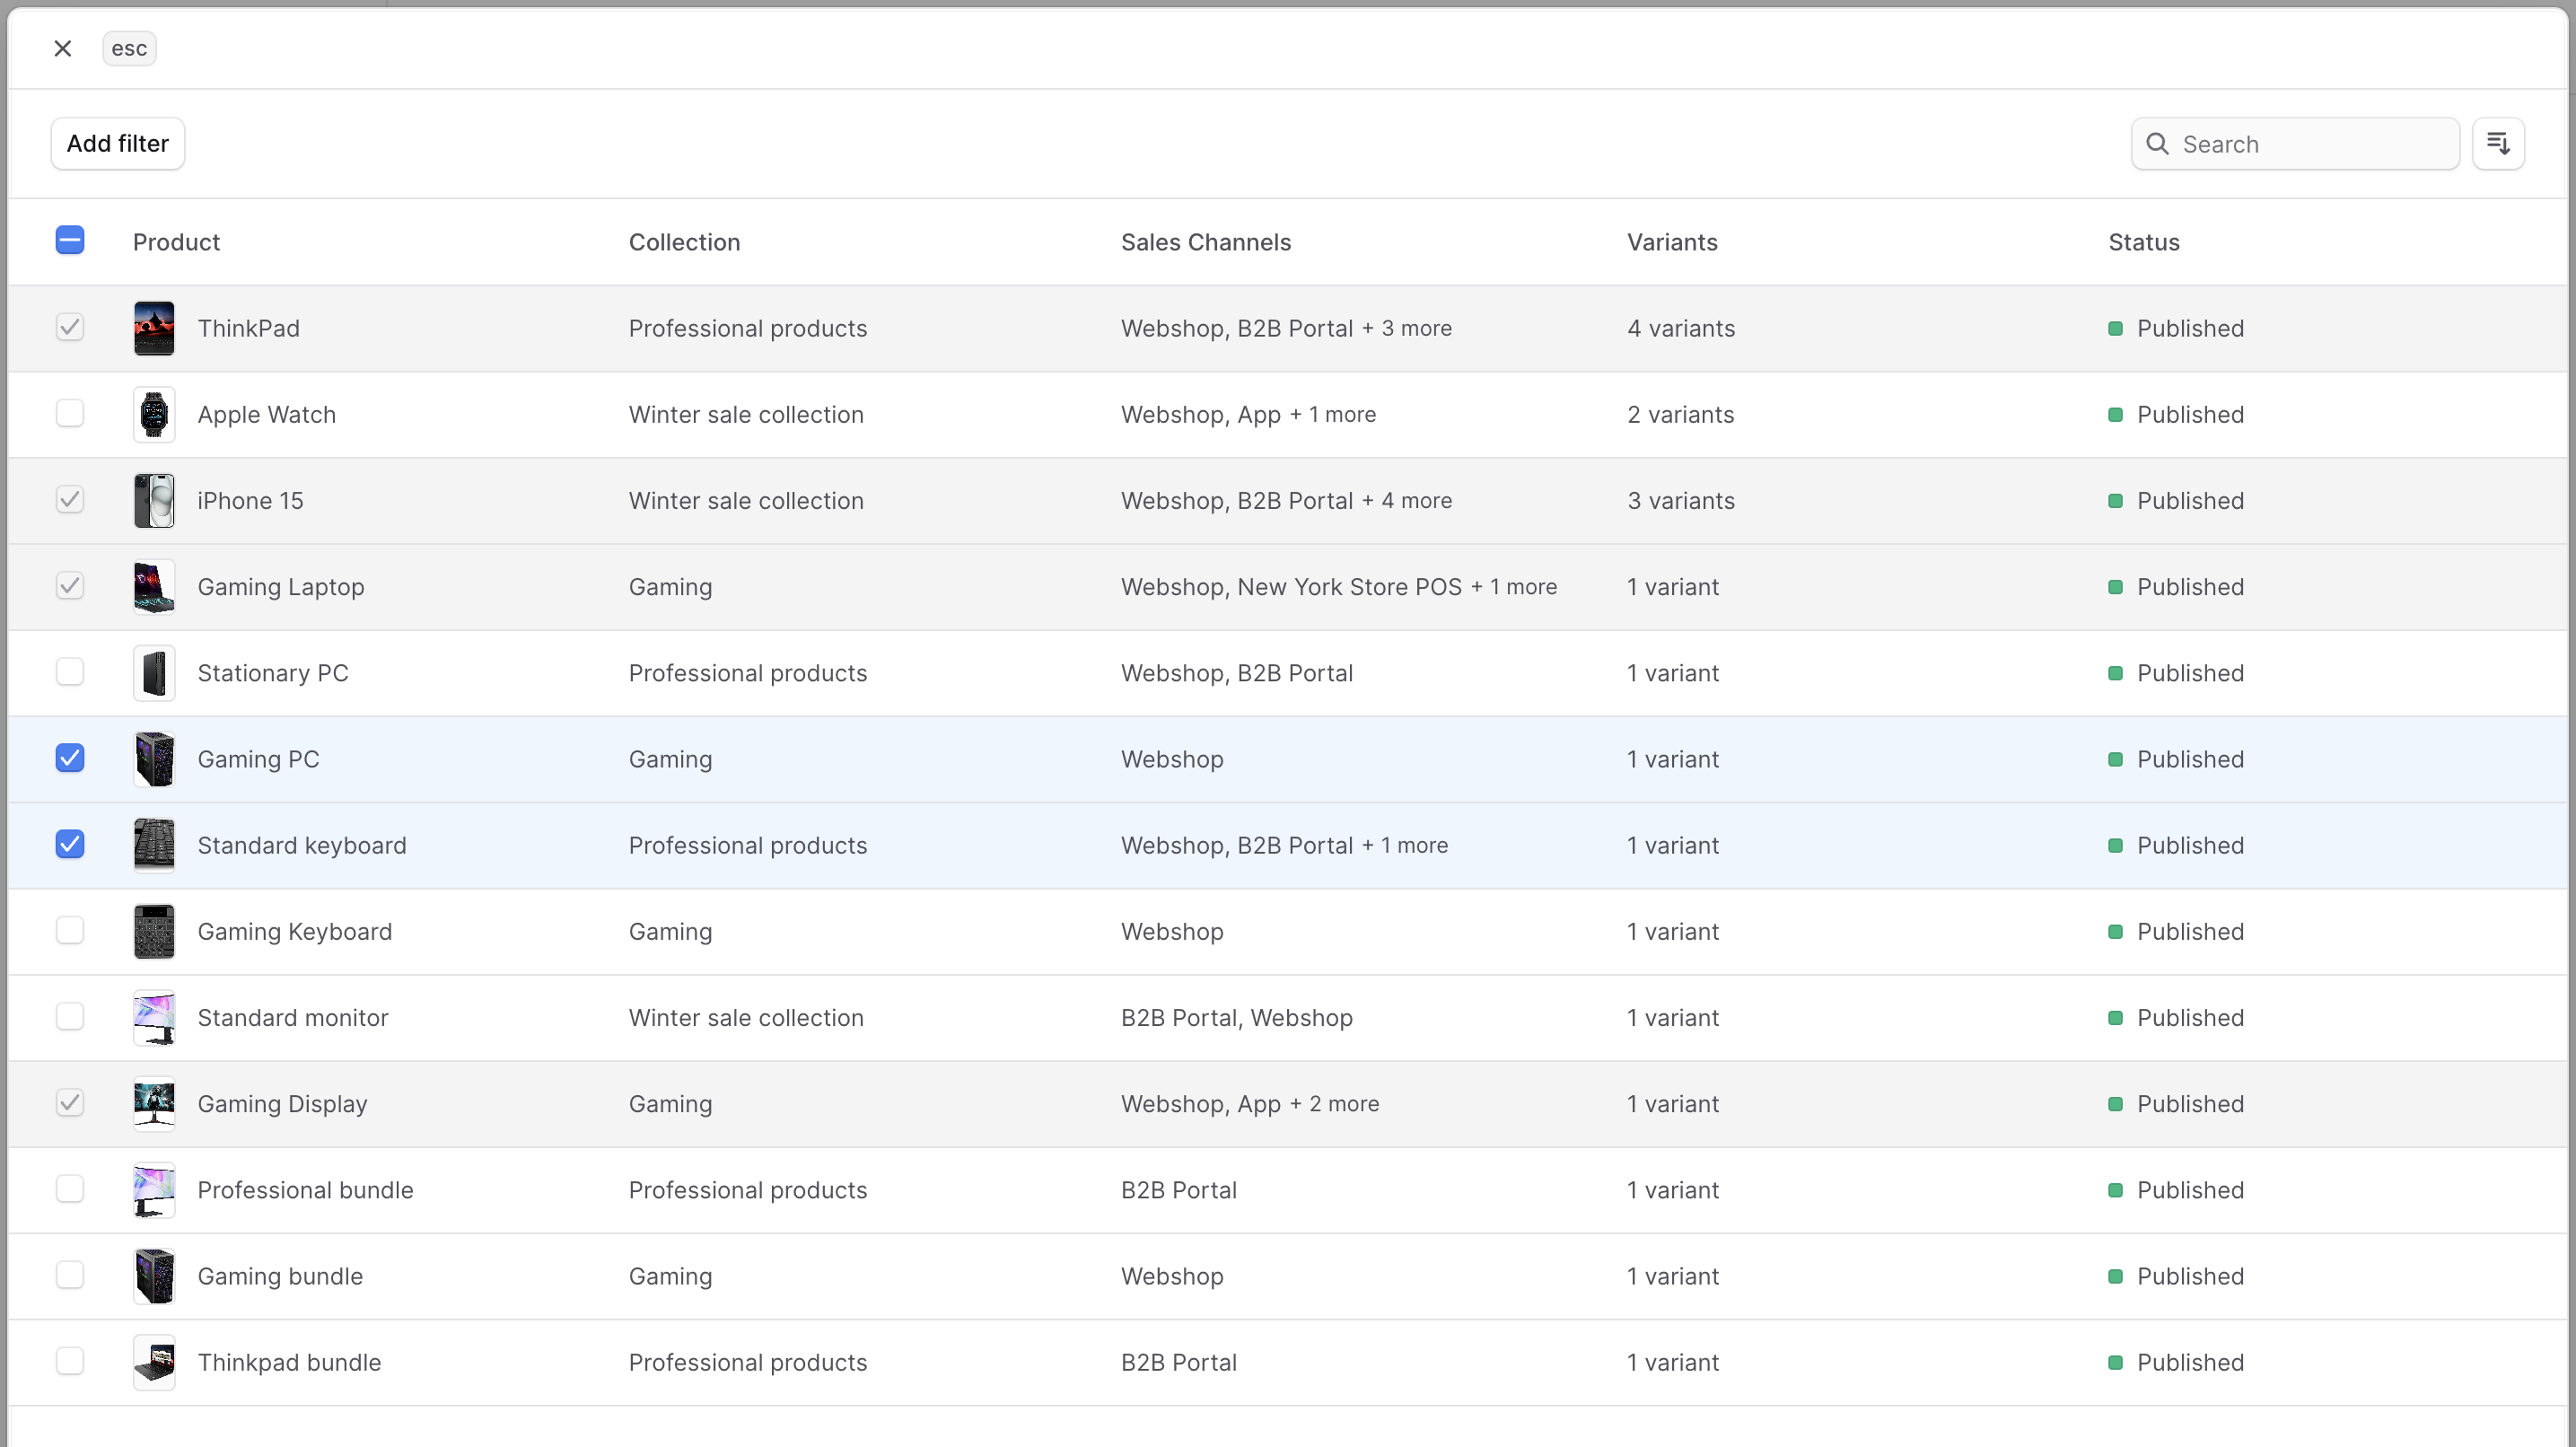
- Click the “Add” button in the “Products” section.
- In the list that opens, check the products you want to add to the sales channel.
- Click the Save button.
Remove Products from Sales Channel
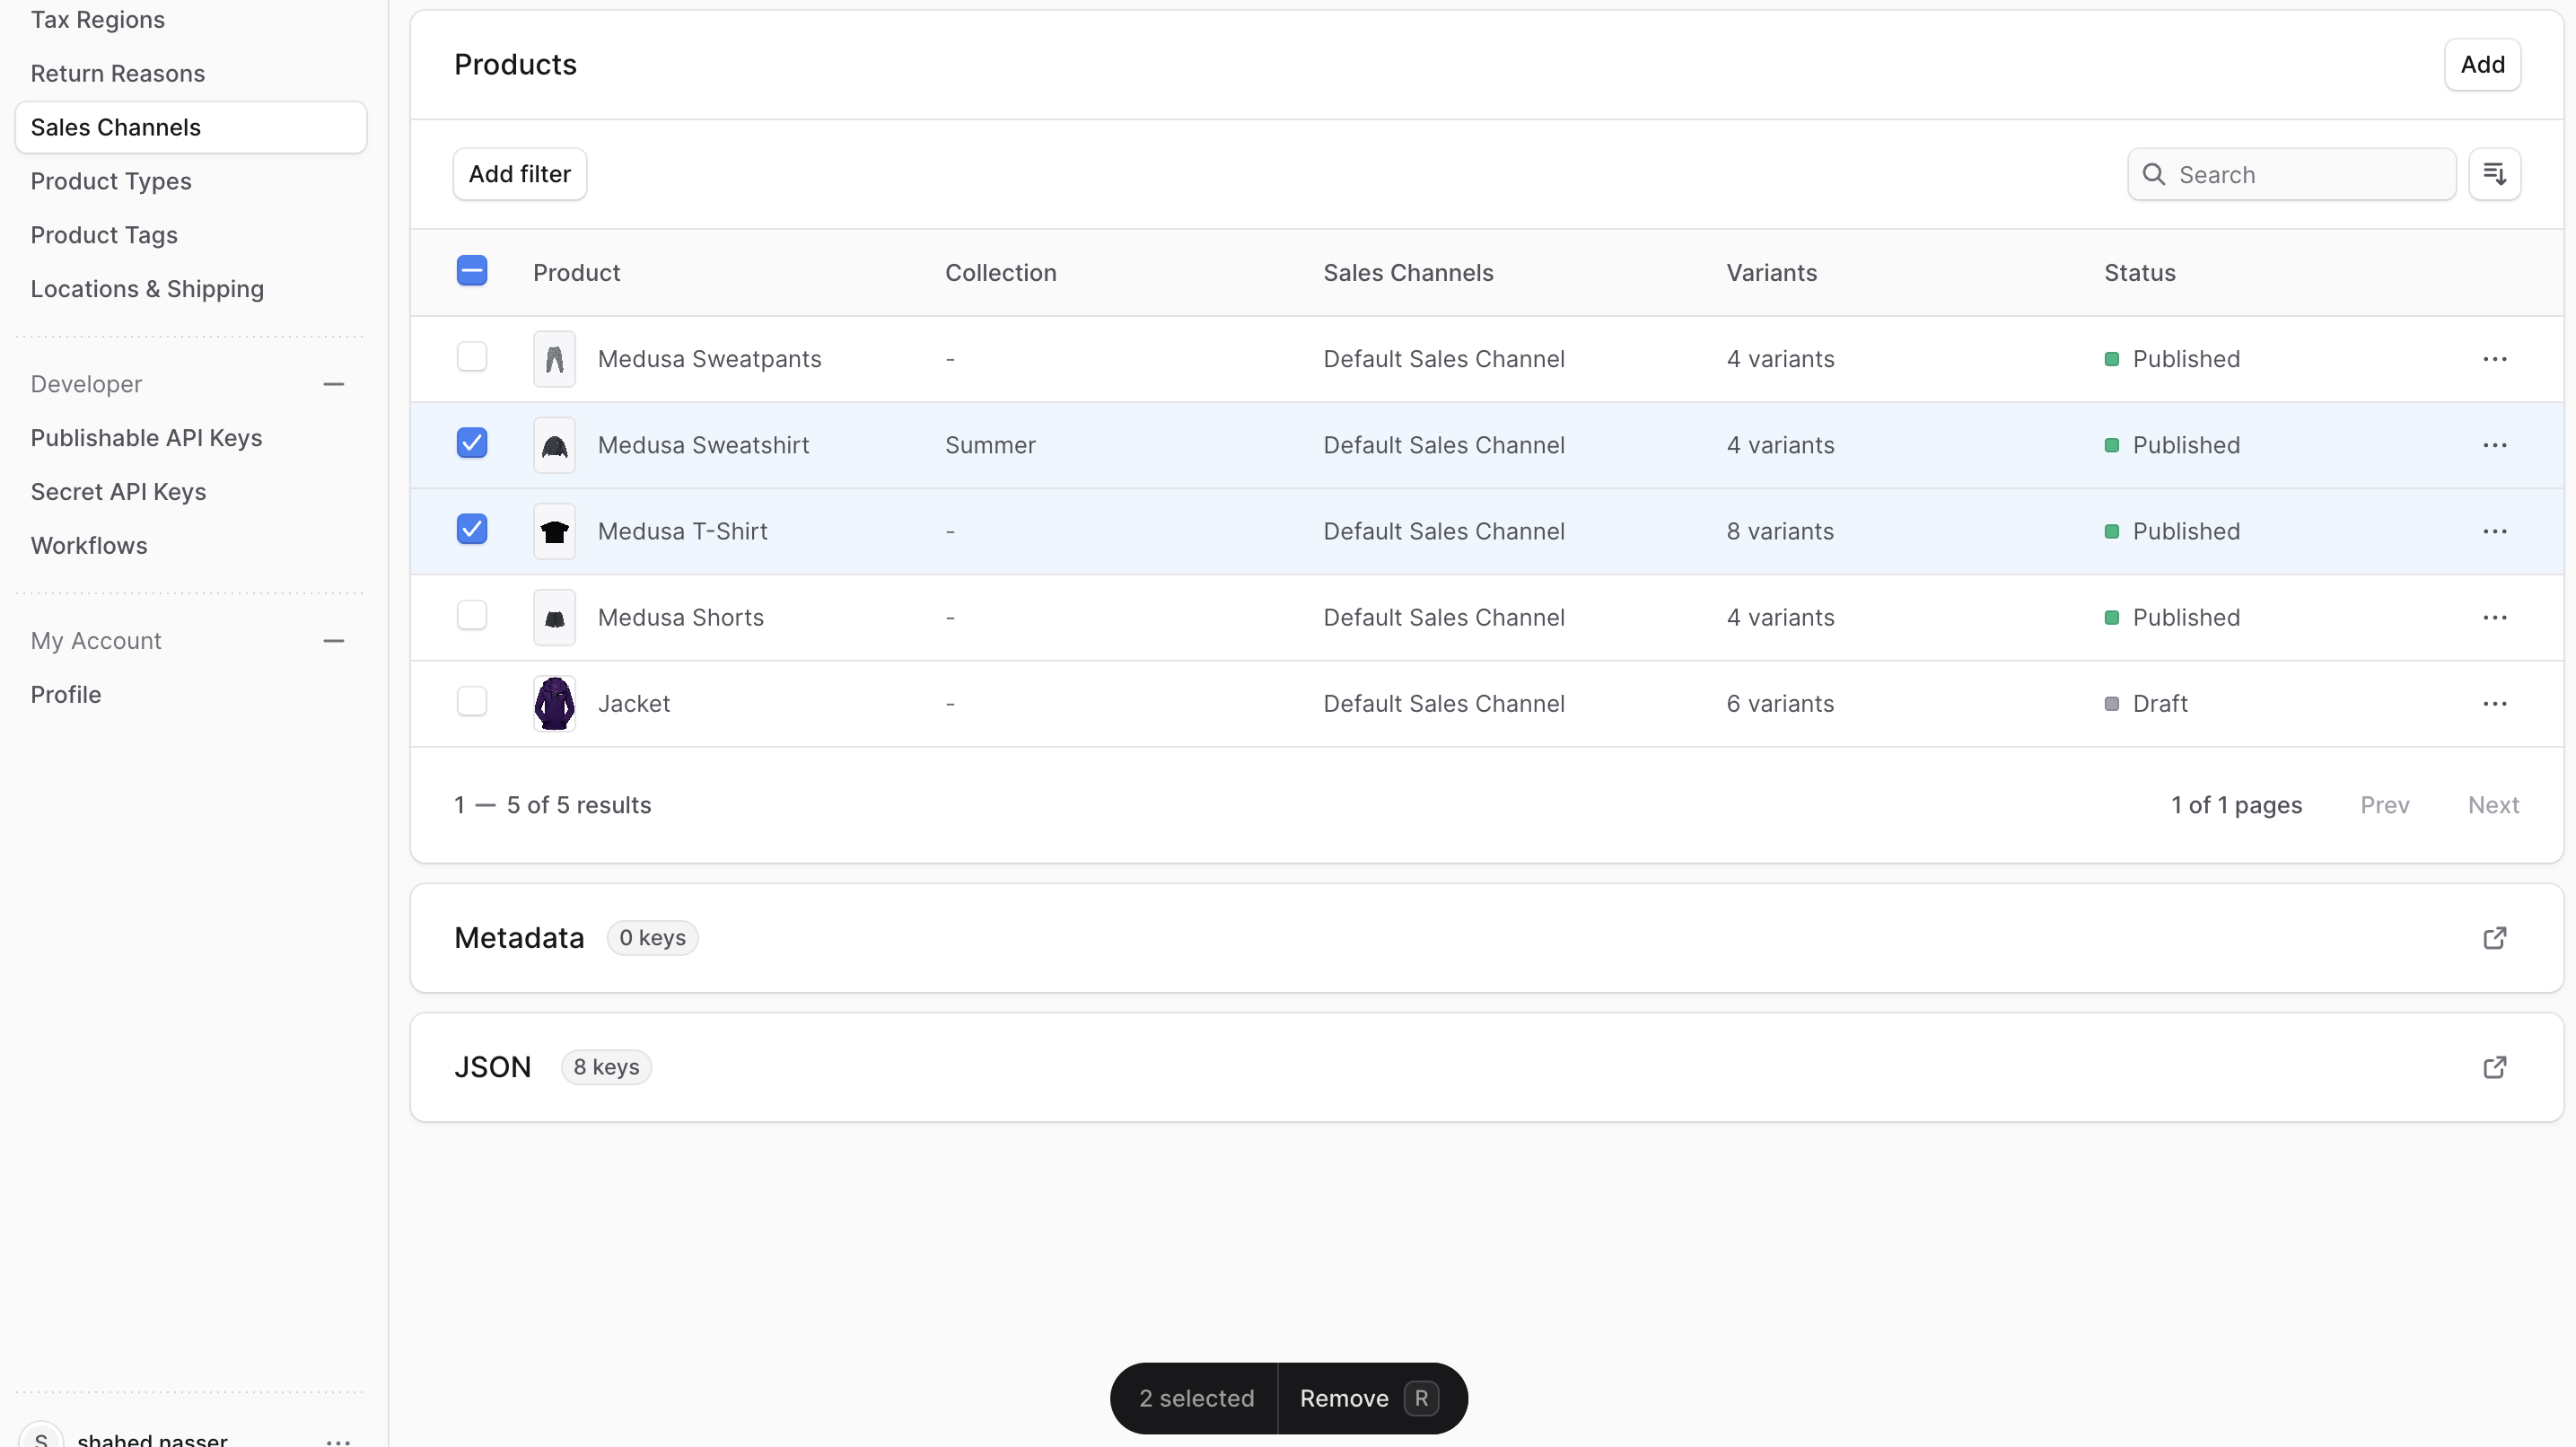
To remove products from a sales channel:- Go to the sales channel’s details page.
- Under the “Products” section, check the products you want to remove from the sales channel.
- Press
Ror click the Remove button at the bottom center of the page. - Confirm removing the product by clicking the Delete button in the pop-up.
Delete Sales Channel
Deleting a sales channel is irreversible. To delete a sales channel:- Go to the sales channel’s details page.
- Click the ⋯ icon at the top right of the first section.
- Choose Delete from the dropdown.
- Confirm deleting the sales channel by entering the sales channel’s name and clicking the “Delete” button in the pop-up.