Manage Customer Groups in BoxNCase Partners Admin
Learn how to create and manage customer groups for effective customer segmentation. Use customer groups to organize customers by type, apply group-specific discounts, and target specific audiences with tailored promotions and pricing.Customer Group Benefits
Customer groups enable powerful segmentation strategies:- Segment customers: Organize by VIP status, wholesale vs retail, geographic region, etc.
- Apply group-specific discounts: Create targeted promotions for different customer segments
- Add/remove group members: Easily manage group membership as customer status changes
- Manage metadata: Store additional group information for custom integrations
Common Customer Group Examples
VIP Customers
Create a VIP customer group to:- Offer exclusive 10-15% discounts on all products
- Provide early access to new product launches
- Enable premium customer service and support
Wholesale Customers
Set up wholesale groups for:- Volume-based pricing and bulk discounts
- Special payment terms and credit arrangements
- Access to wholesale-only products and catalogs
Regional Groups
Segment customers by location for:- Location-specific promotions and shipping options
- Regional pricing and currency support
- Localized marketing campaigns and offers
View List of Customer Groups
To view all customer groups, go to the Customers → Customer Groups page. From here, you can see a list, filter, and search through all customer groups.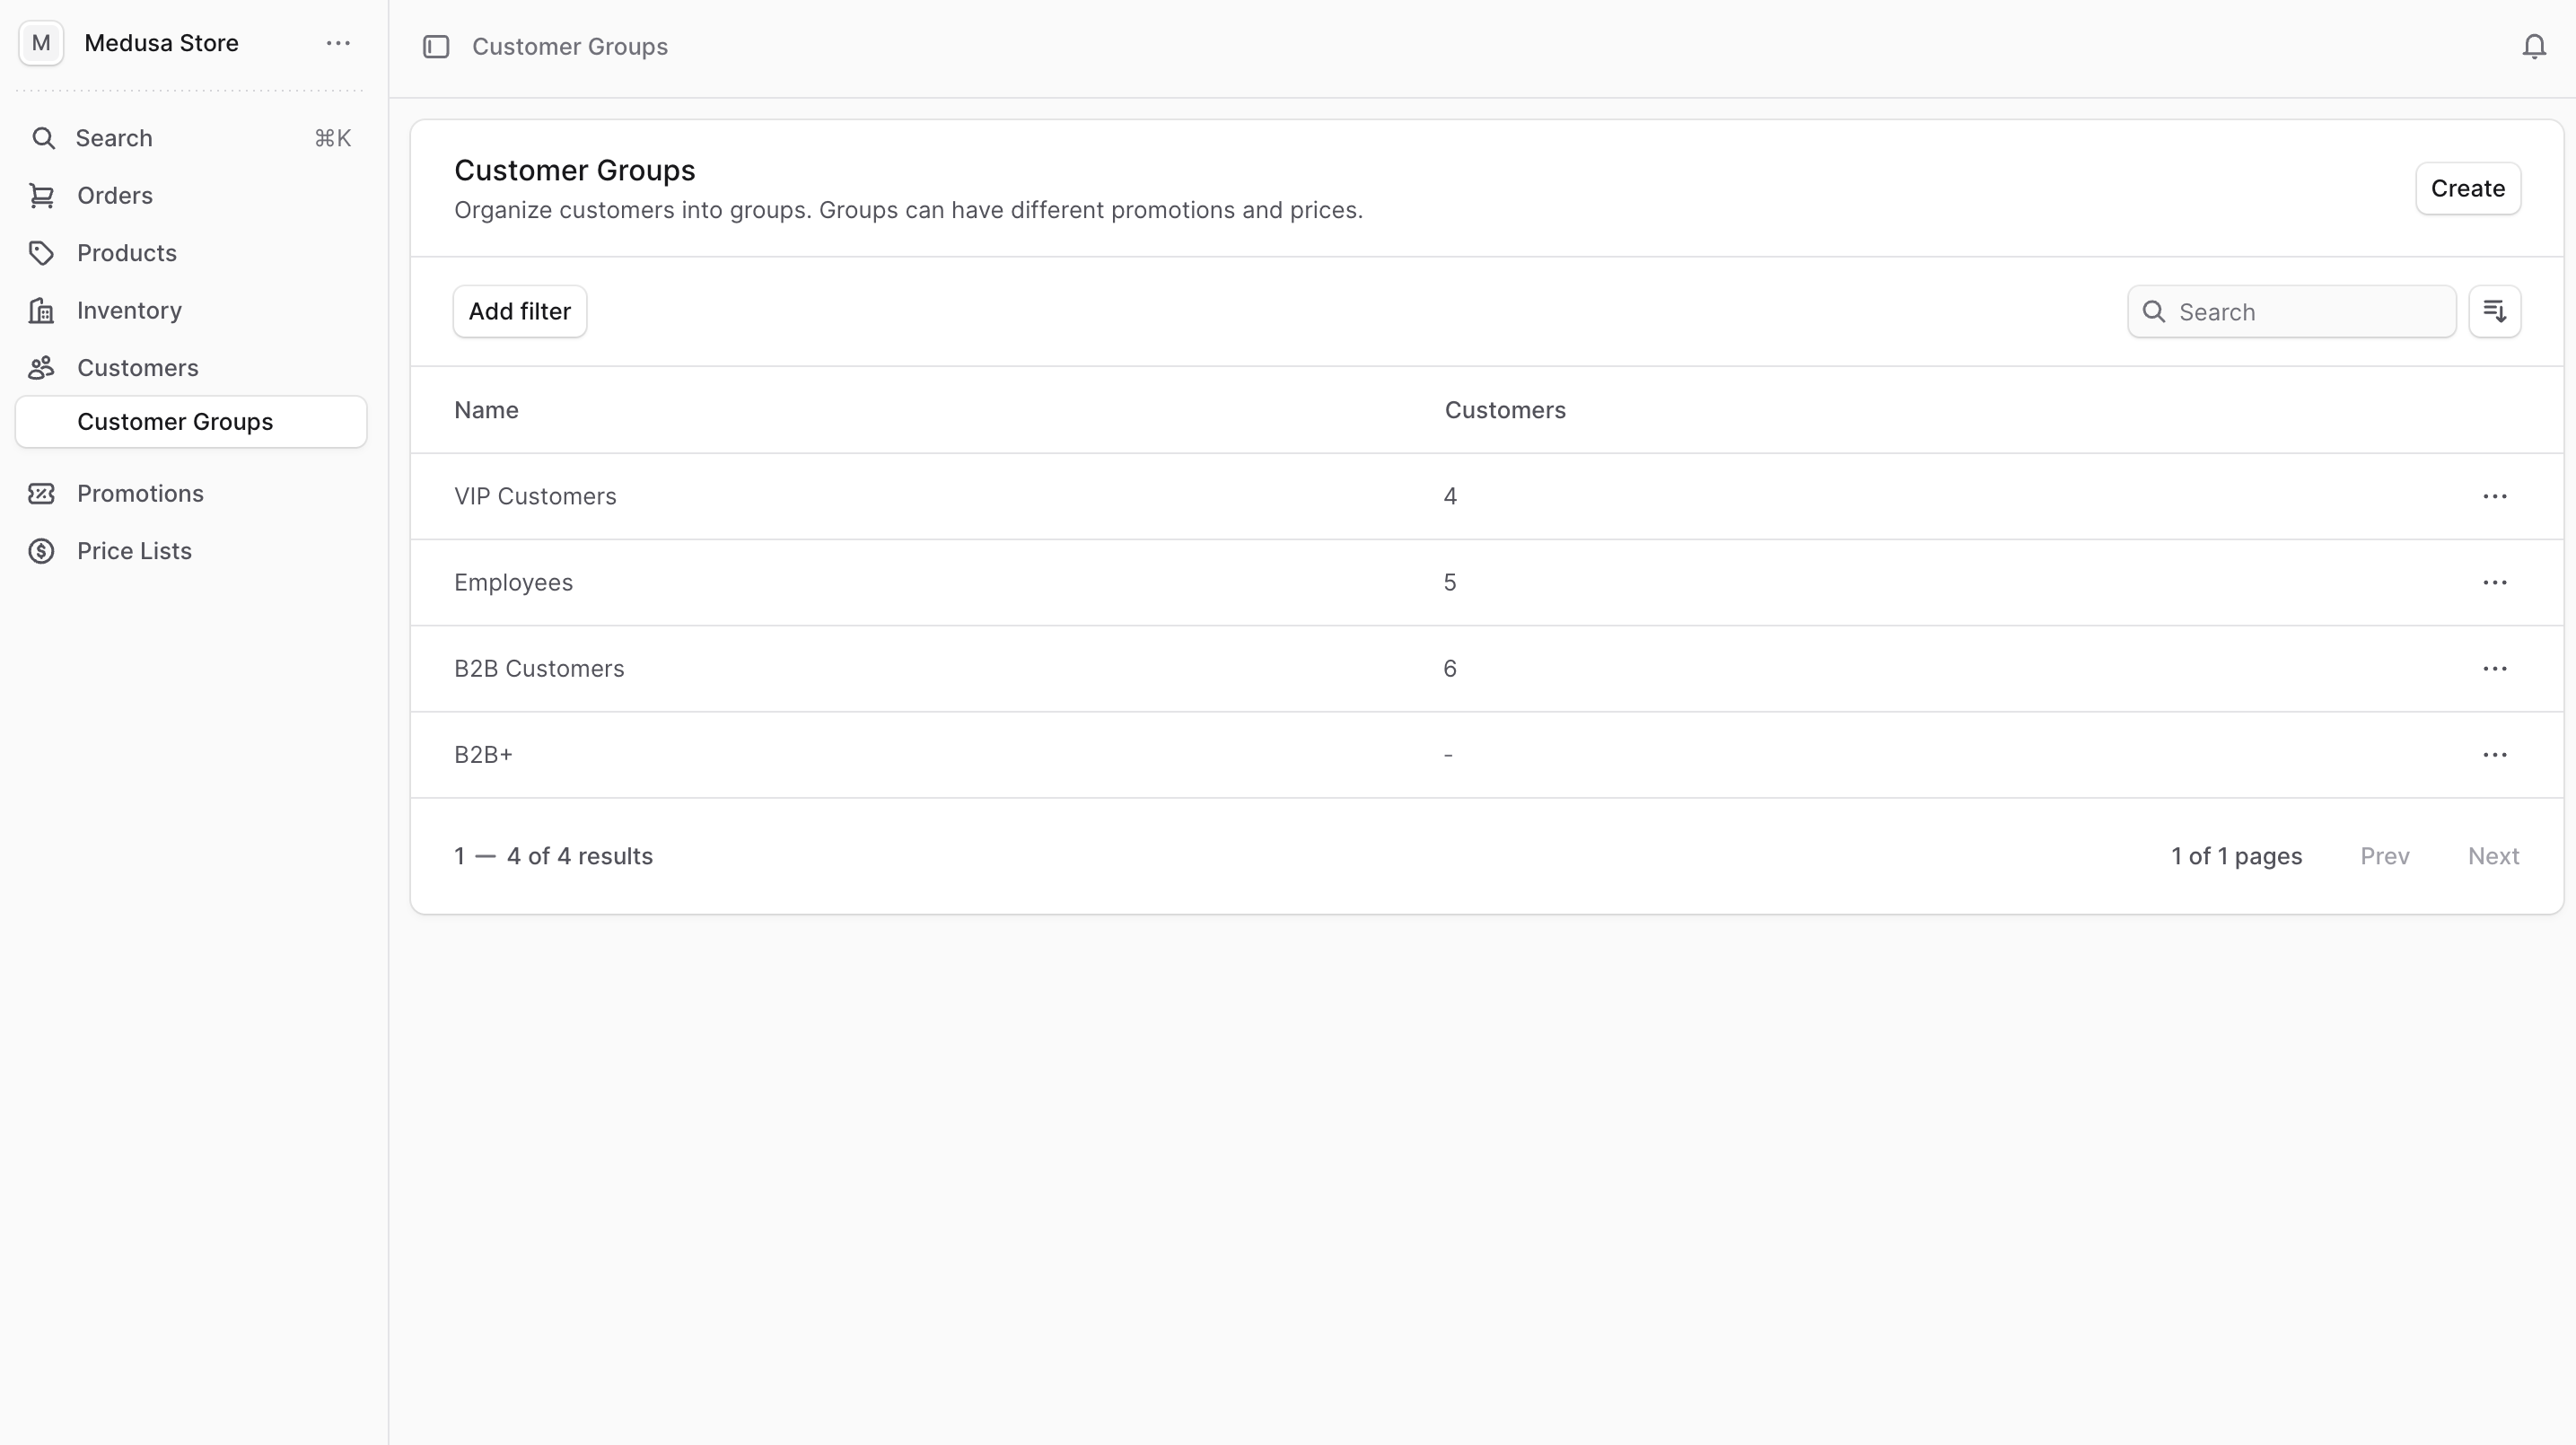
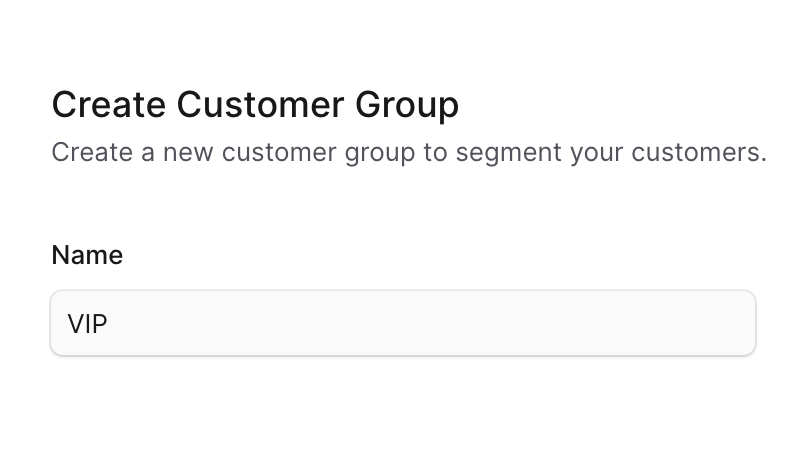
Create a Customer Group
To create a customer group:- Go to the Customers → Customer Groups page.
- Click the Create button.
- In the form that opens, enter the customer group’s name.
- Click the Create button.
View Customer Group Details
To view the details of a customer group:- Go to the Customers → Customer Groups page.
- Click on the group you want to view.
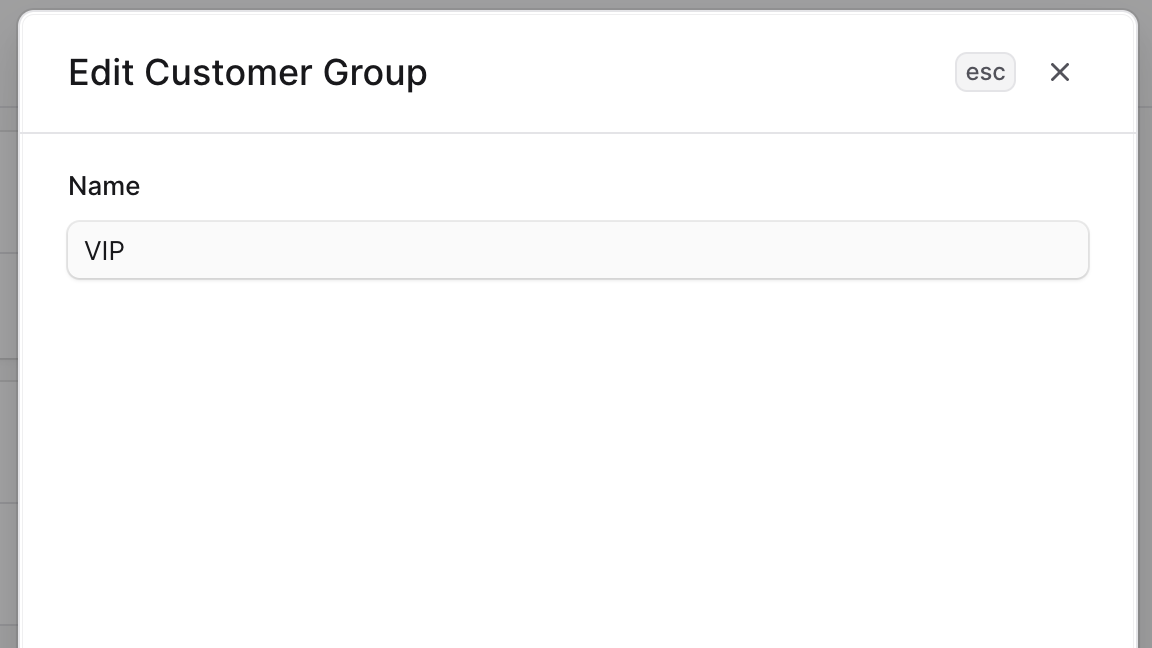
Edit a Customer Group
To edit a customer group:- Go to the customer group’s details page.
- Click on the ⋯ icon at the top right of the first section.
- Click on Edit in the dropdown.
- In the side window that opens, you can edit the customer group’s name.
- Once you’re done, click on the Save button.
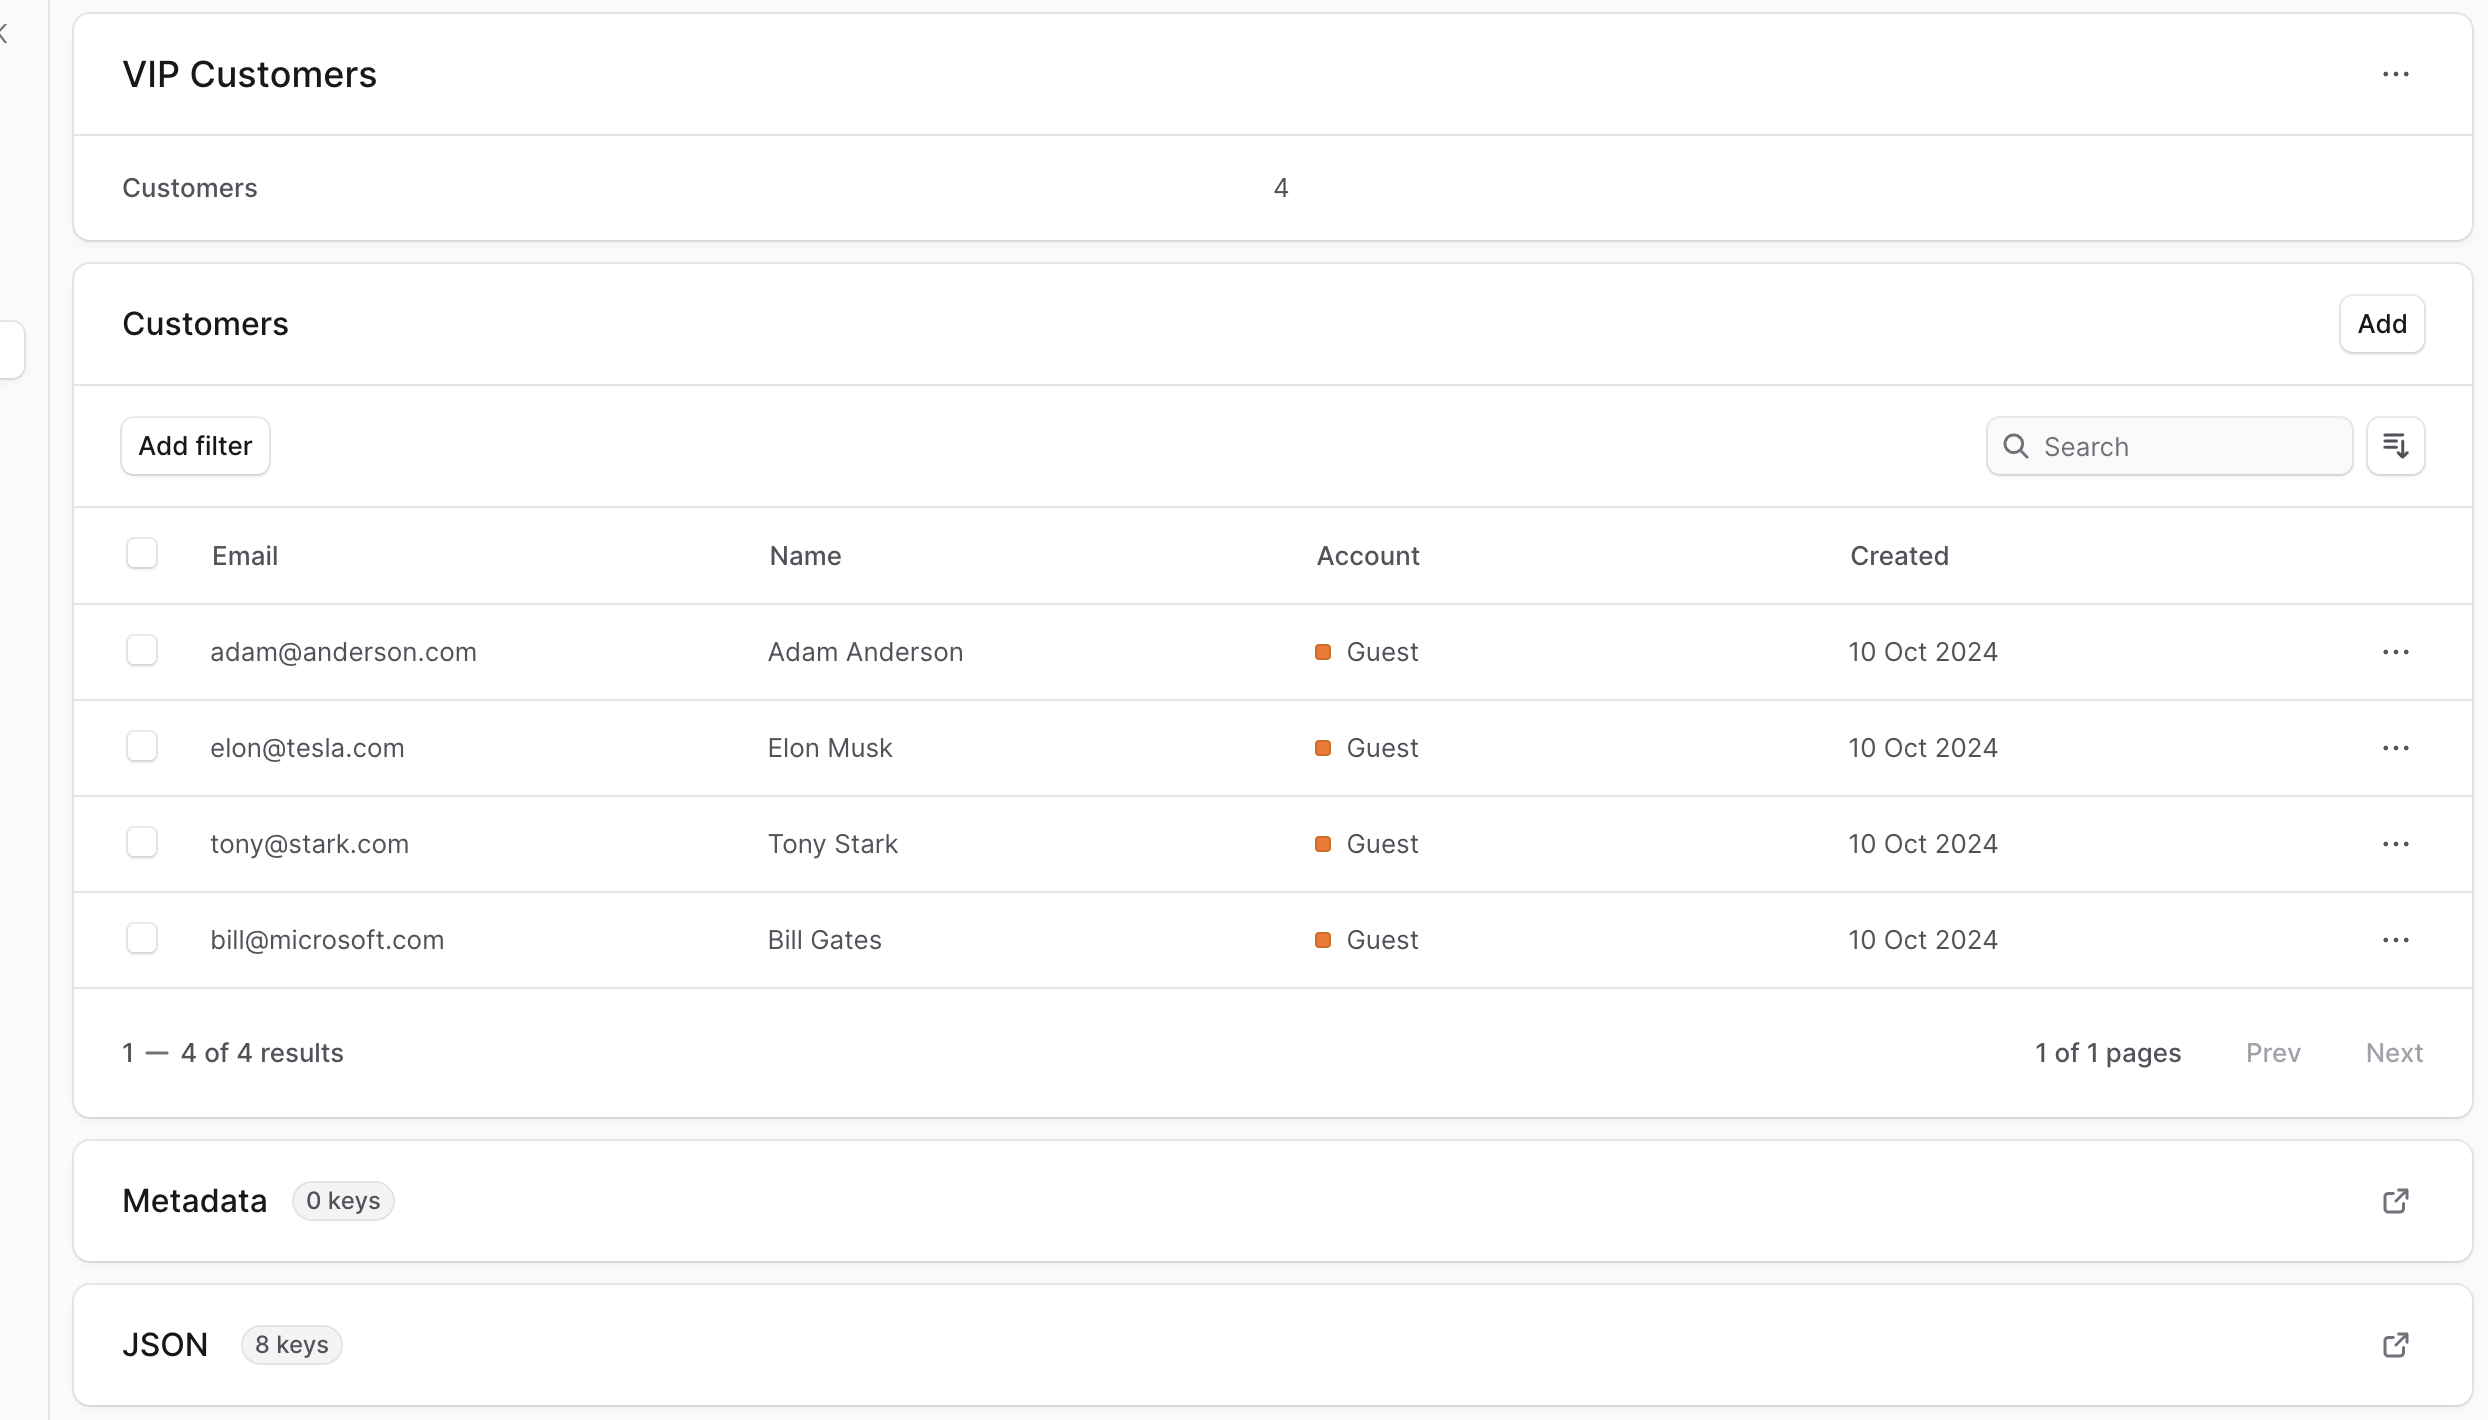
Manage Customers in a Group
A customer group can have multiple customers. You can add or remove customers from a customer group.Add Customers to a Group
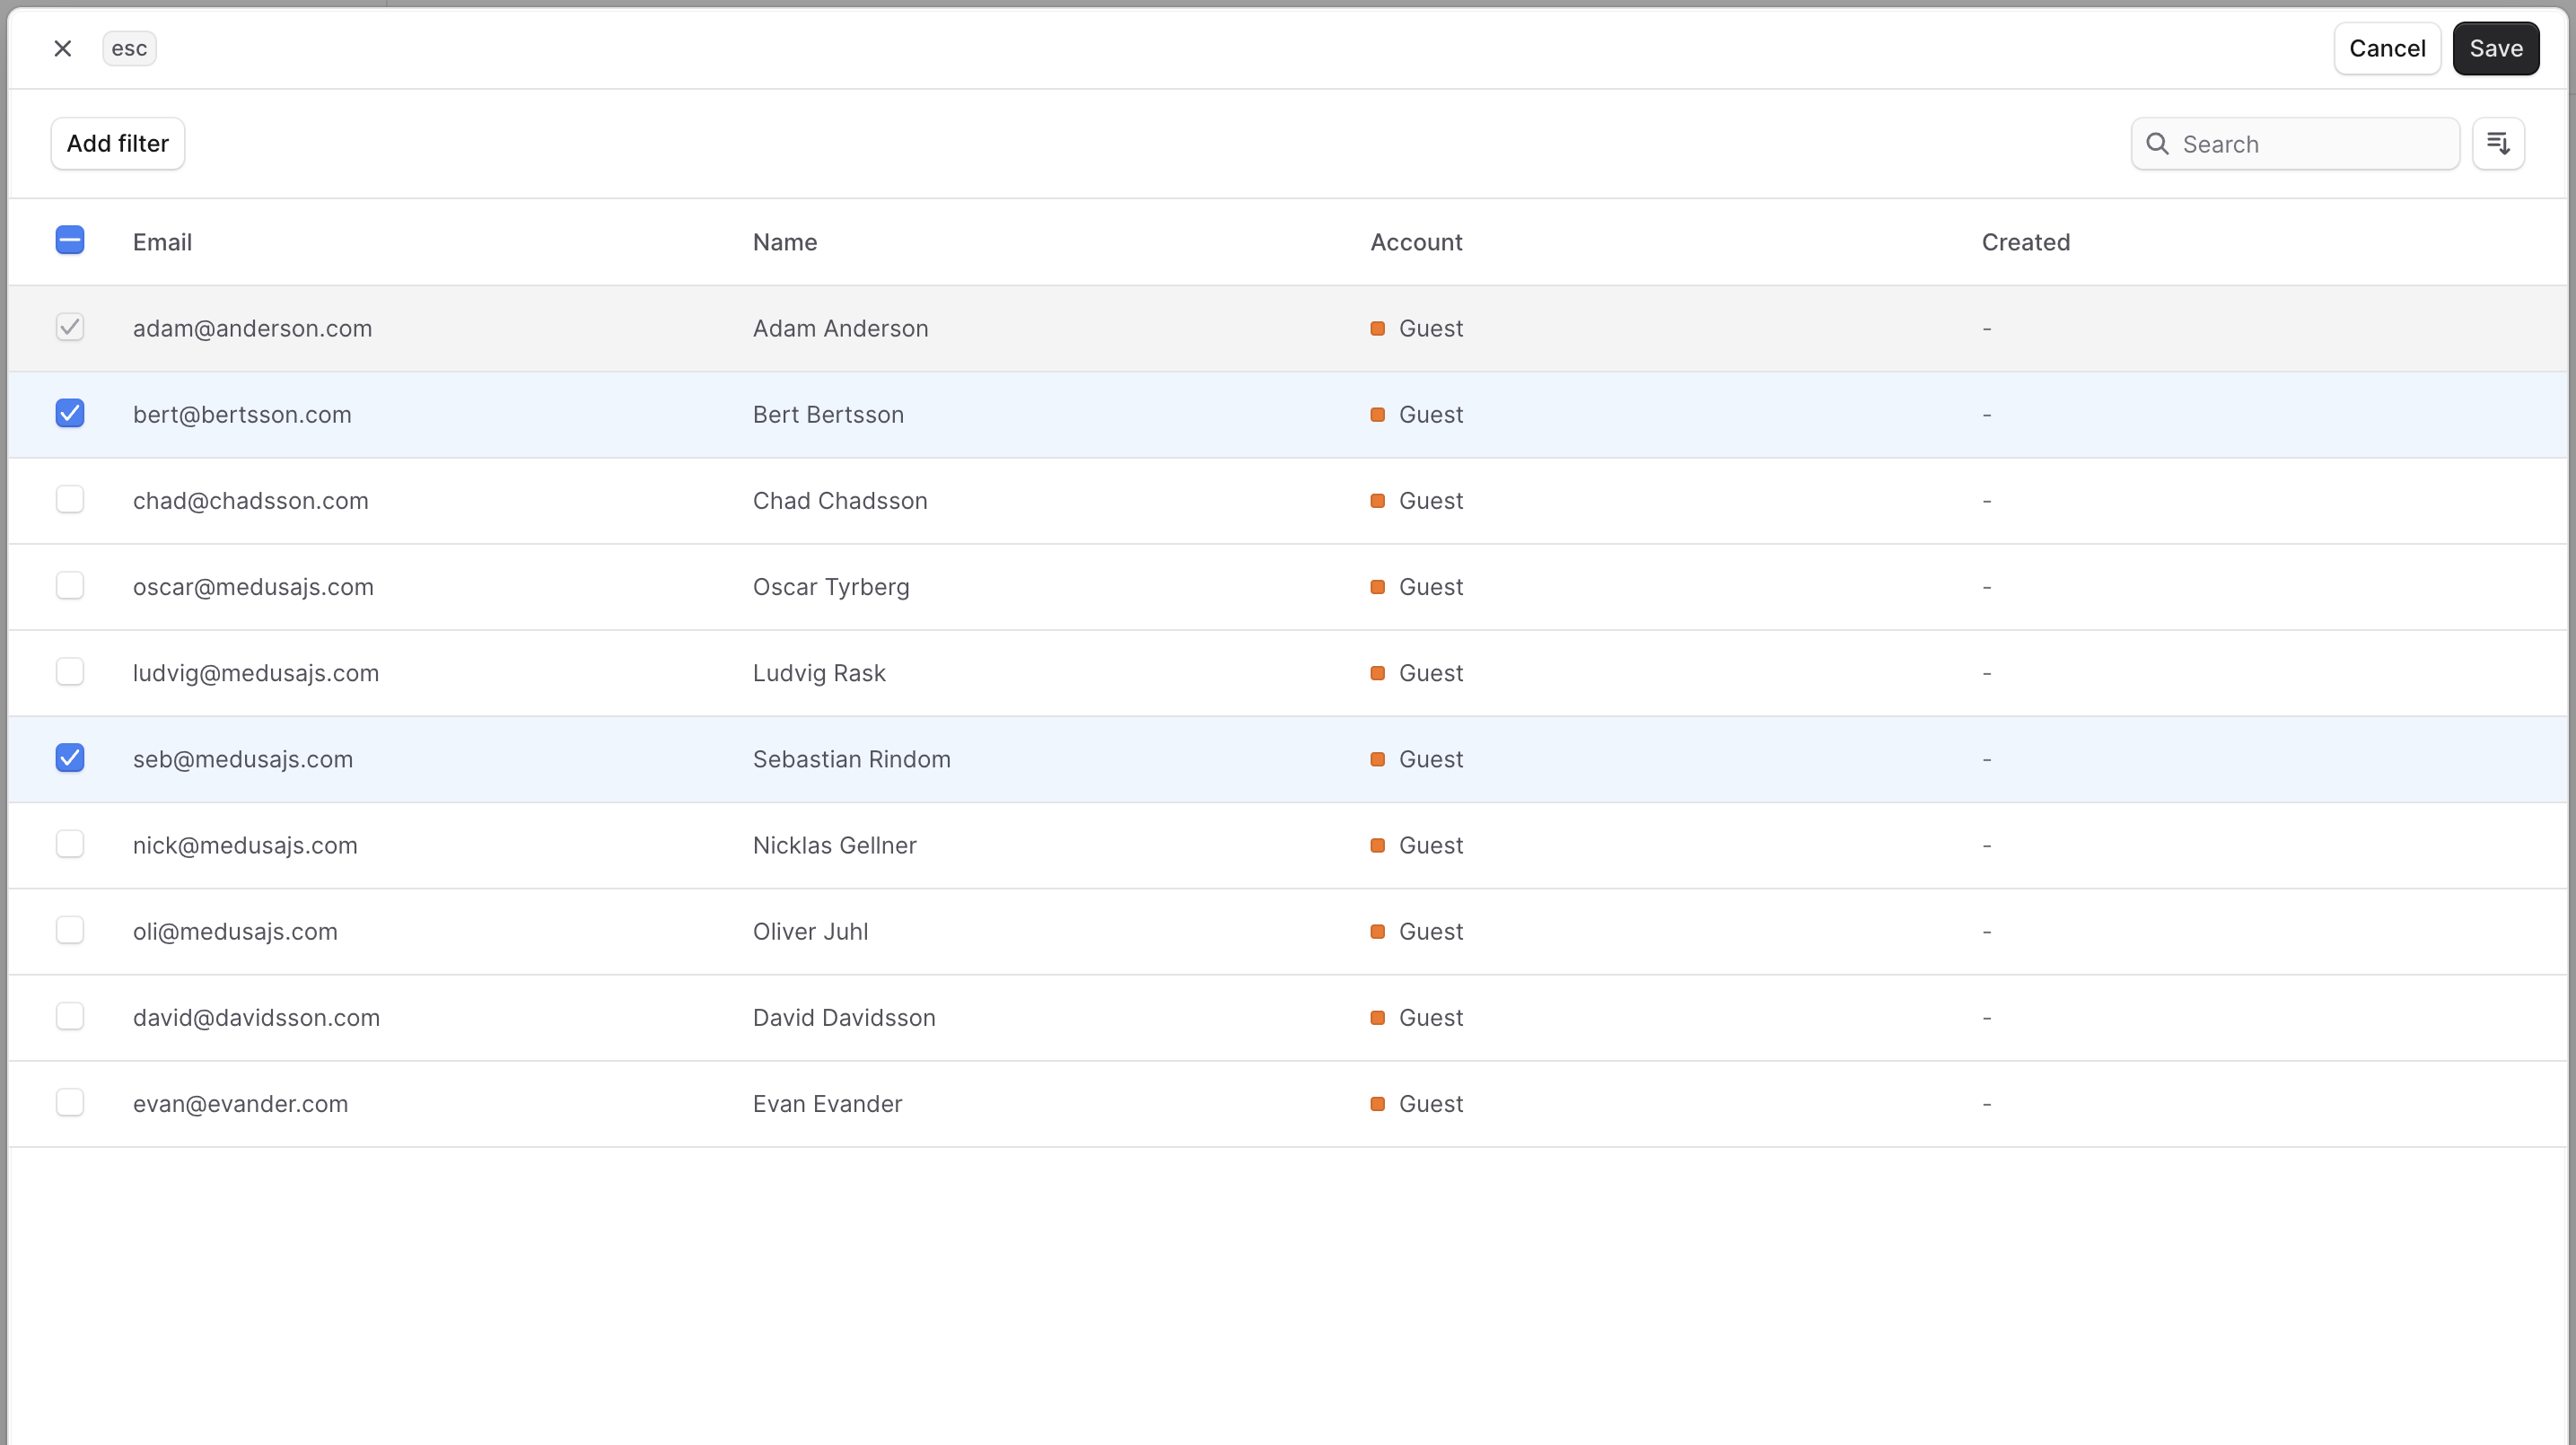
To add customers to a customer group:- Go to the customer group’s details page.
- In the Customers section, click the Add button at the top right.
- Check the customers you want to add to the group.
- Once you’re done, click on the Save button.
Remove a Customer from a Group
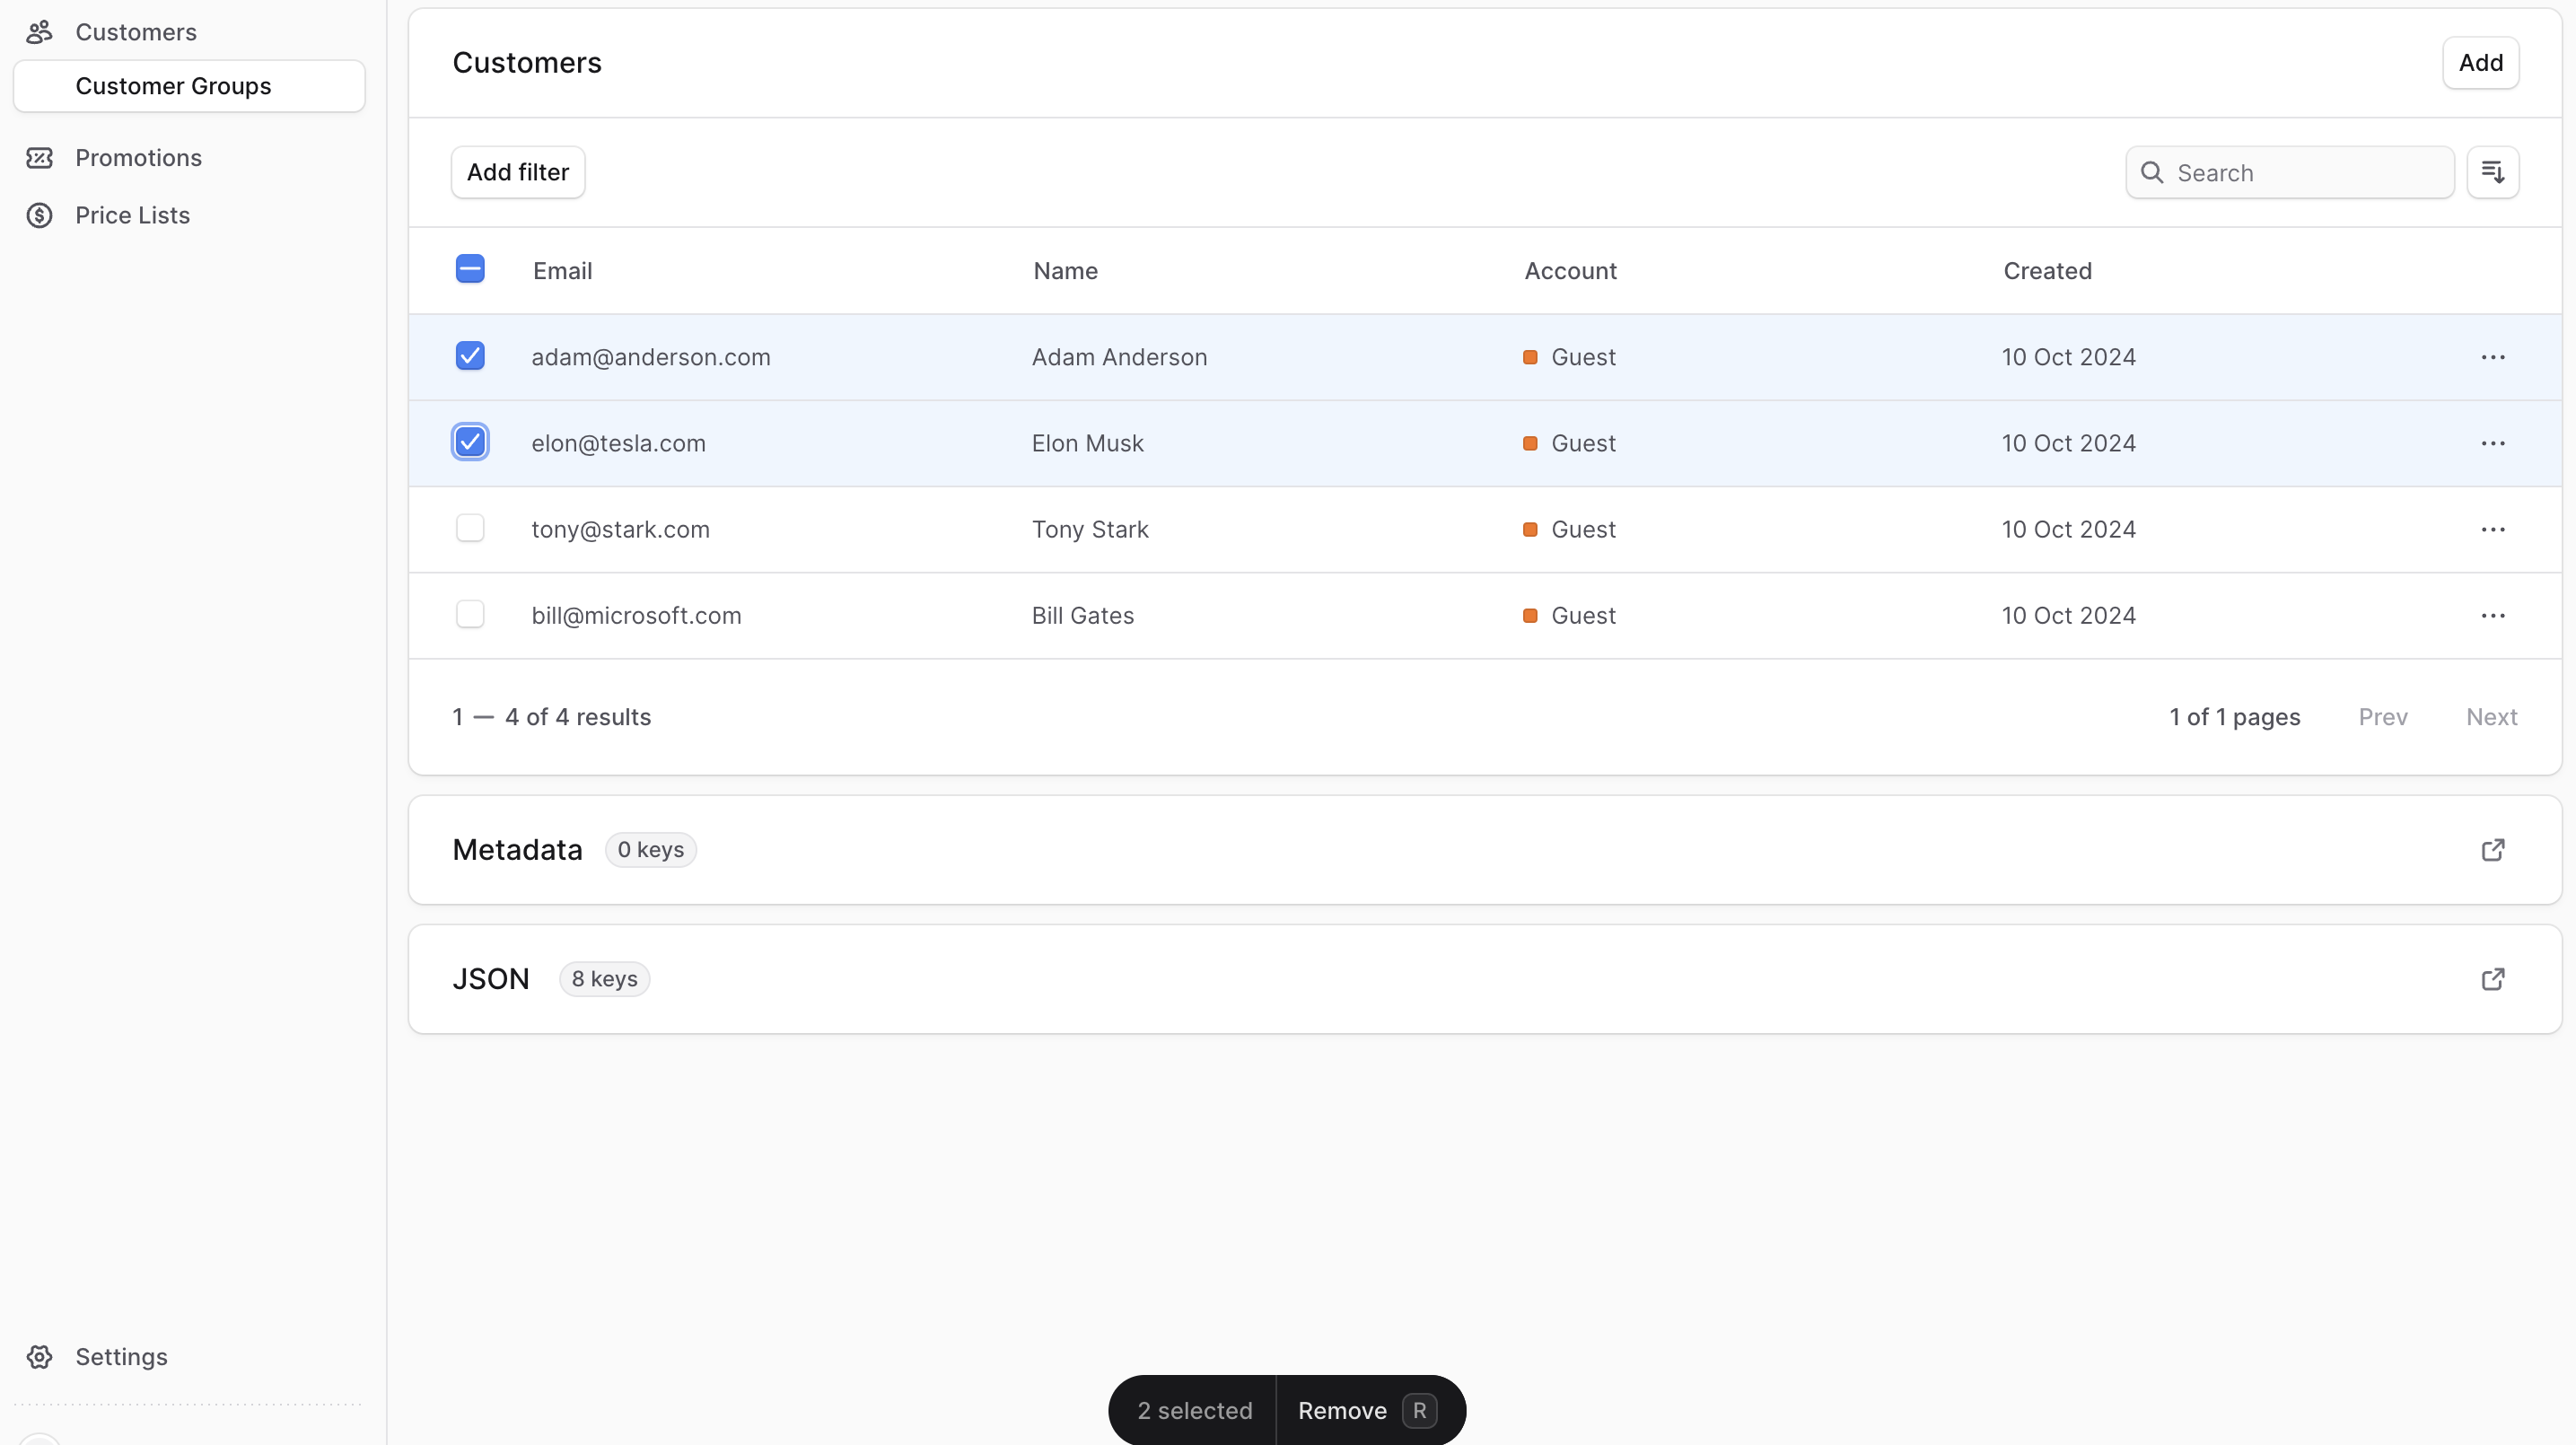
To remove customers from a customer group:- Go to the customer group’s details page.
- In the Customers section, check the customers you want to remove from the group.
- Once you’re done, either press
Ror click Remove at the bottom center of the page. - Confirm removing the customers by clicking the Continue button in the pop-up.
Edit Customer Group Metadata
Metadata is custom data that can be associated with the customer group in key-value pairs. This is usually used by developers for custom integrations or to store additional information about the customer group. To edit the customer group’s metadata:- Go to the customer group’s details page.
- Click the ↗ icon at the right of the “Metadata” section.
- In the side window that opens:
- Manage the key-value pairs in the table.
- To add a new row of key-value pairs before or after a row:
- Hover over the row and click the ⋮ icon at its right.
- Choose “Insert row above” or “Insert row below” from the dropdown.
- To delete a row of key-value pairs:
- Hover over the row and click the ⋮ icon at its right.
- Choose “Delete row” from the dropdown.
- Once you’re done, click the Save button.
Delete Customer Group
Deleting a customer group is irreversible. It doesn’t delete the customers in the group. To delete a customer group:- Go to the customer group’s details page.
- Click the ⋯ icon at the top right of the first section.
- Choose Delete from the dropdown.
- Confirm deleting the customer group by clicking the Delete button in the pop-up.