Users Management in BoxNCase Admin
Manage your BoxNCase store’s admin users with comprehensive tools for user administration, permission control, and access management. Ensure secure and efficient team collaboration through proper user management.Overview
BoxNCase user management enables:- Admin user creation and management
- Role-based permission control
- User invitation system
- Access level assignments
- Team collaboration features
View Users
You can view admin users by going to Settings → Users. In the list, you can see user details such as the name and email. You can also search, filter, and sort the users to find the specific item you are looking for.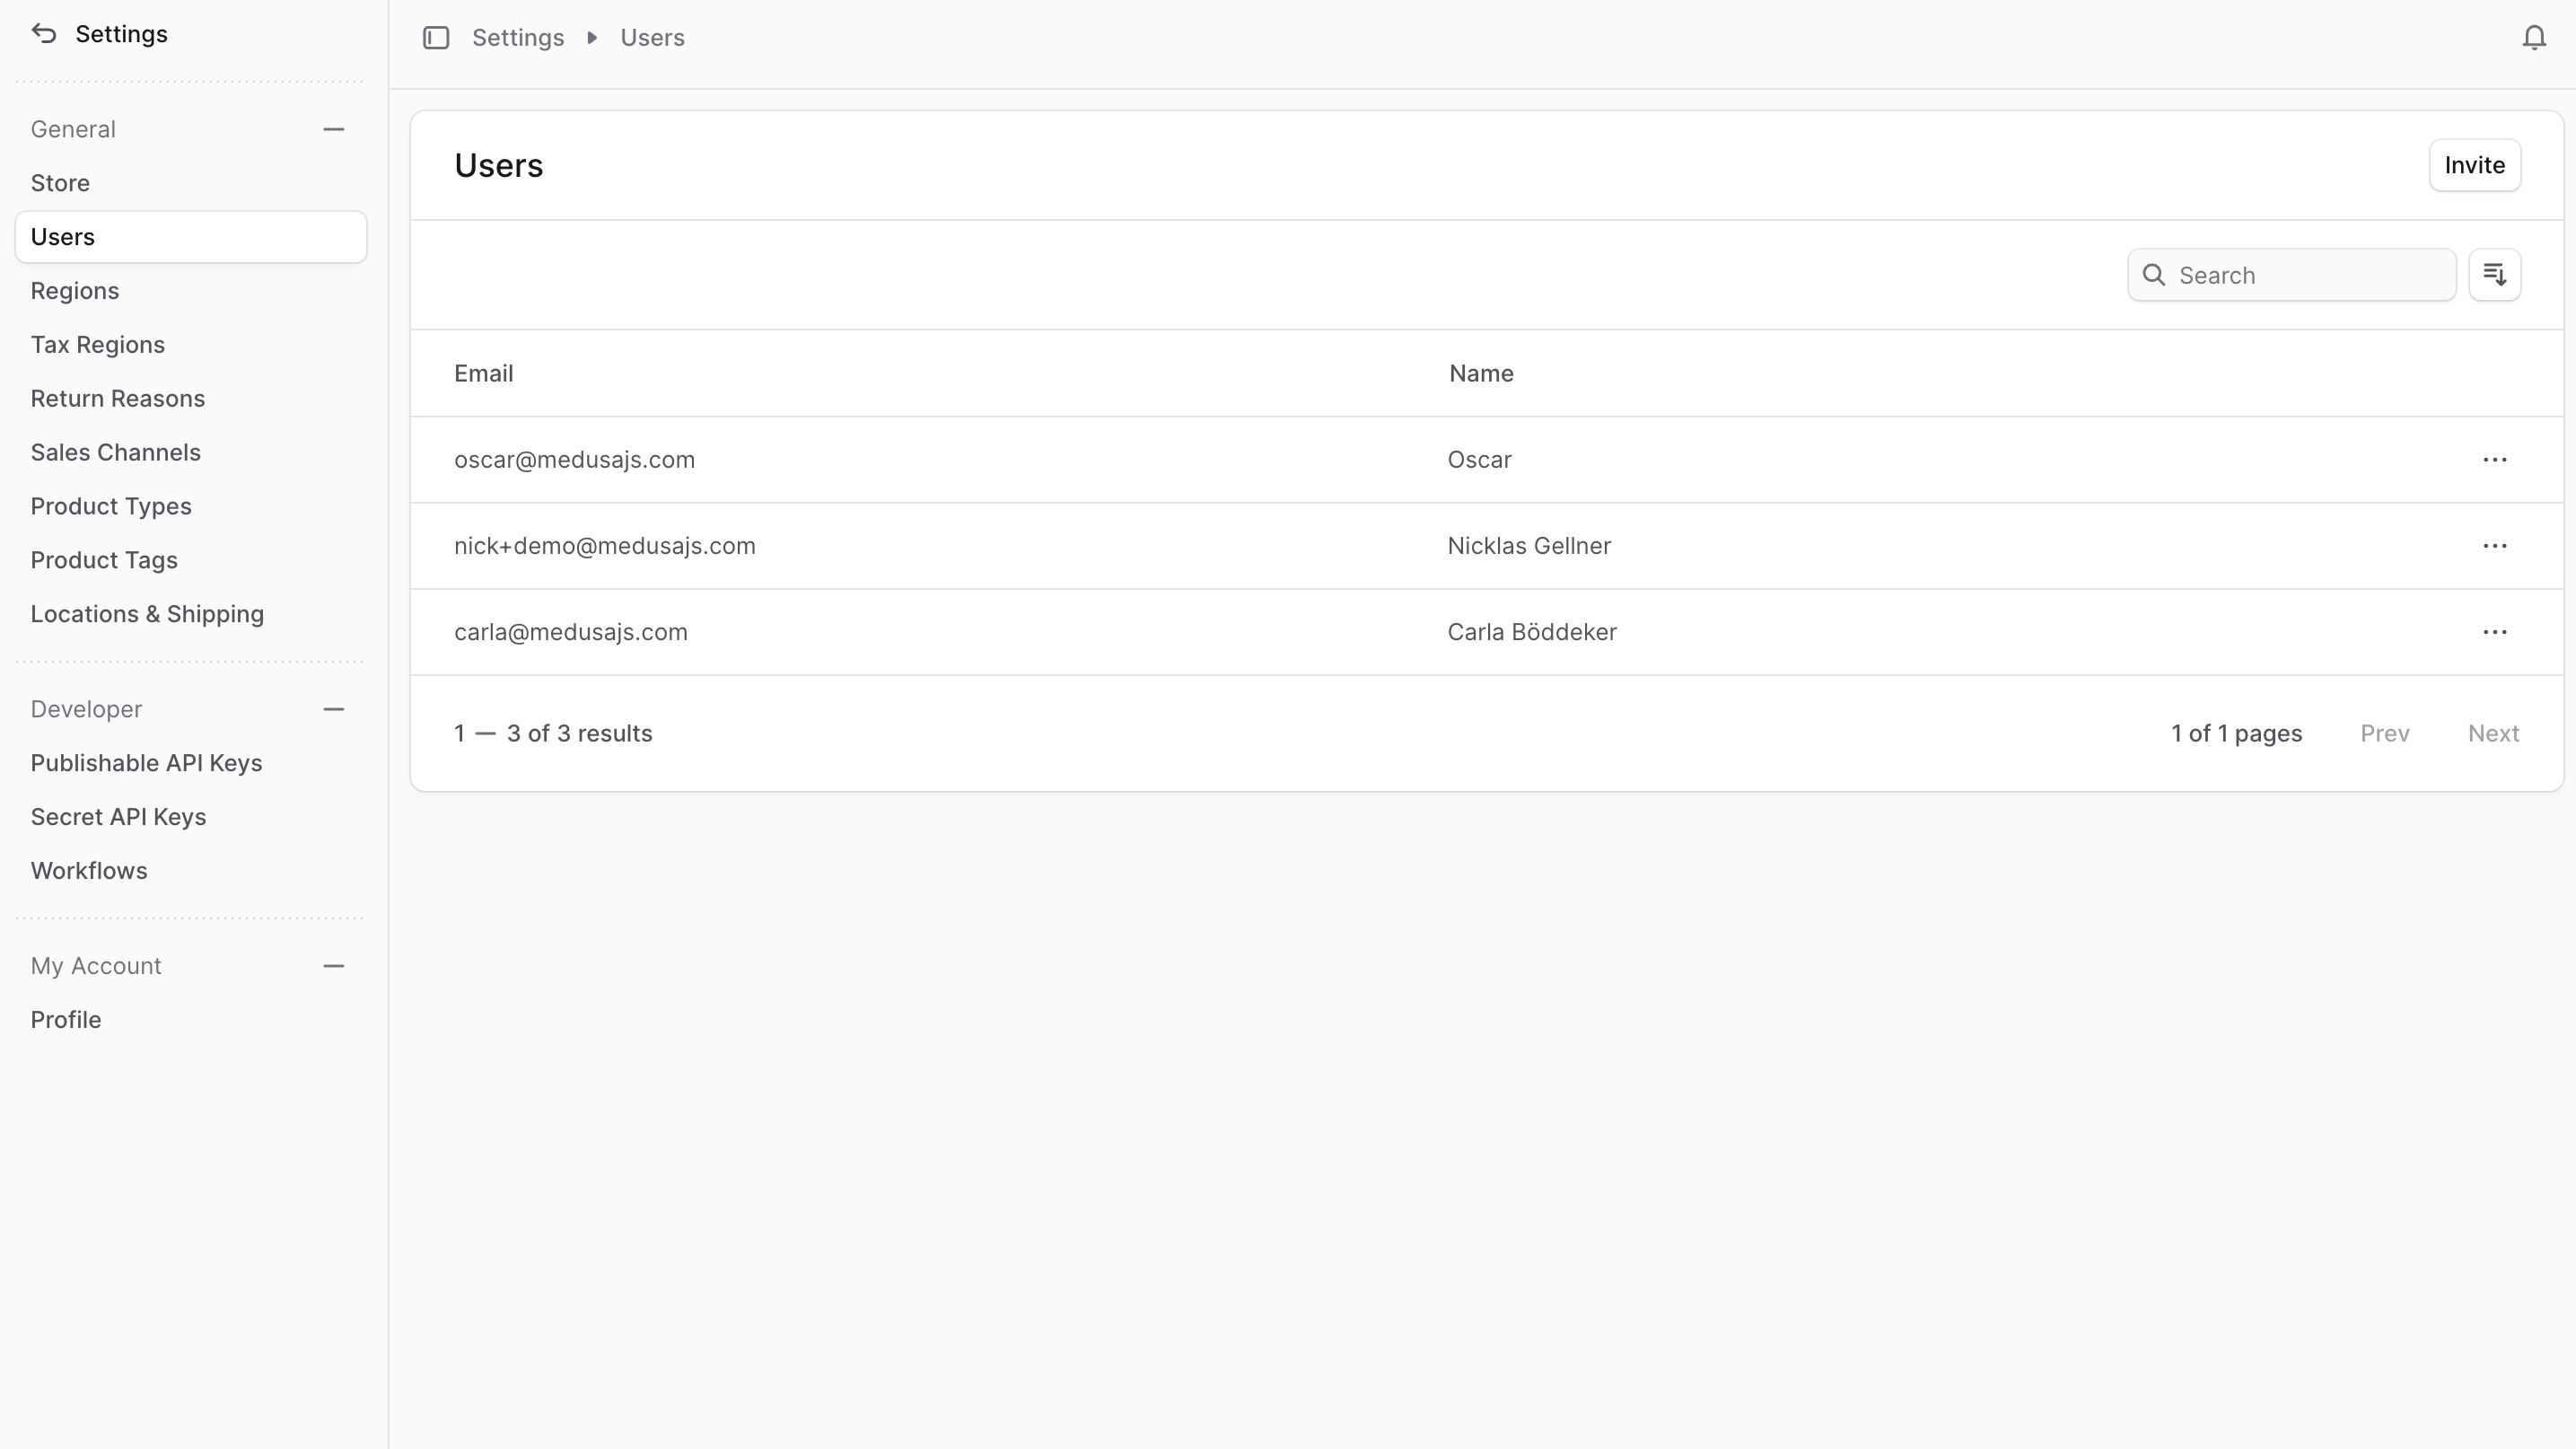
View User Details
To view the details of a user:- Go to Settings at’ Users.
- Click on the user in the list.

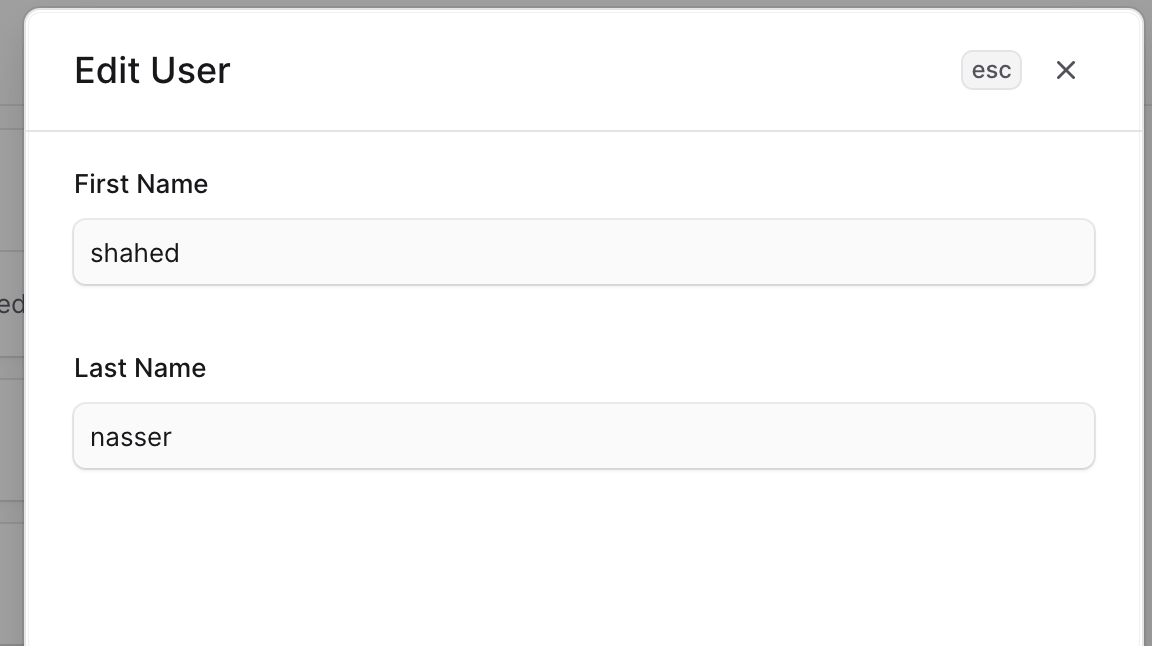
Edit a User’s Details
To edit the details of an admin user:- Go to the user’s details page.
- Click the ⋯ icon at the top right of the first section.
- Choose Edit from the dropdown.
- In the side window that opens, you can edit the user’s first and last names.
- Once done, click the Save button.
Manage User Metadata
User metadata provides flexible data storage for: Common Applications:- Custom user attributes and preferences
- Integration data with external systems
- Role-specific configuration settings
- Department or team identifiers
- Custom permission flags
- Avoid storing sensitive personal information
- Use encrypted storage for confidential data
- Regular audit of metadata usage
- Compliance with data protection regulations
- Click the ↗ icon at the right of the “Metadata” section.
- In the side window that opens:
- Manage the key-value pairs in the table.
- To add a new row of key-value pairs before or after a row:
- Hover over the row and click the ⋮ icon at its right.
- Choose “Insert row above” or “Insert row below” from the dropdown.
- To delete a row of key-value pairs:
- Hover over the row and click the ⋮ icon at its right.
- Choose “Delete row” from the dropdown.
- Once you’re done, click the Save button.
Delete a User
Warning: User deletion is irreversible and will permanently remove all associated data. Before Deleting Consider:- Transfer ownership of any critical data or processes
- Review user’s activity history for compliance
- Ensure no active sessions or pending operations
- Document the deletion for audit purposes
- Go to Settings → Users.
- Find the user in the list and click on it.
- Click the ⋯ icon at the top right of the first section.
- Choose Delete from the dropdown.
- Confirm deleting the user by entering their name and clicking the “Delete” button in the pop-up.